|
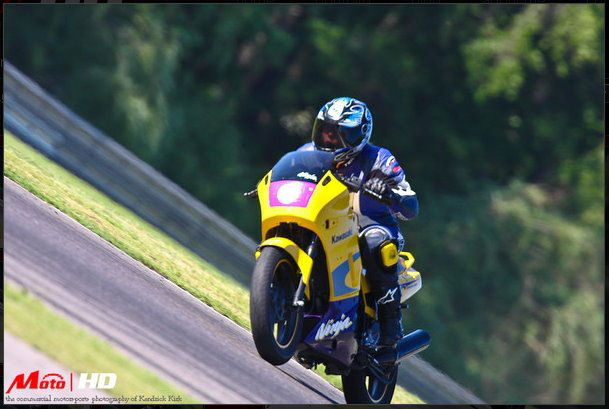
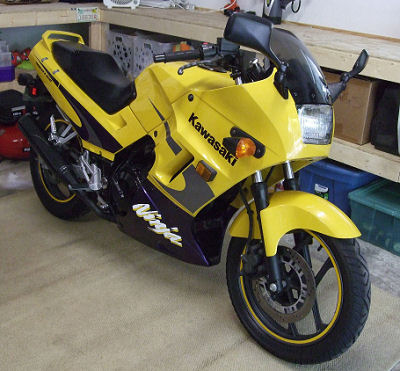
Kawasaki 250 Ninja
 Major
service Major
service
When it comes to road bikes, there are many questions, but
only one answer: The 250 Ninja.
The Zimmerframe Stable has plenty of bikes, from vintage
German twins to modern triples and fours. There are race bikes and sport bikes
and naked hooligan bikes and touring bikes. Some are fast. Some are practical.
But if we could only keep one, it would probably be the humble little Ninja.
In production since 1986 and only given a major facelift
more than two decades later, in 2008, Kawasaki got it dead right with
the Ninja. It isn't the fastest or the absolute most comfortable over long distances, and
it doesn't have the luggage capacity of a big tourer, but it will do the ton, you
can ride it all day and its design is such that you can throw soft bags over the
seat and have plenty of room to pack for a long trip. Its light weight and low
seat make it a great beginner bike, but it also handles well enough that
experienced riders can have a blast on it. The little quarter-litre engine is
rated at 37.4 hp. That's nearly 150 hp per litre. Let that sink in a minute.
Miss Gill
got her Ninja as a learner bike, but with years of riding experience now she refuses to let it go. It has done everything from road trip to track
days. Yes, track! It isn't going to be the fastest thing out there, but ridden
well, it can embarass superior machines. Just ask the guy on the Ducati 1098 it
passed at Barber, or the Daytona 675 rider. Because it's not heavy or
intimidating, new riders - on the street or track - can learn quicker, building
skills rather than relying on horsepower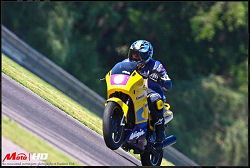 to go fast.
 The
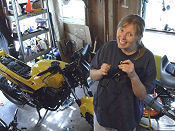
Ninja is also fairly simple to work on. While it is a dual-cam,
four-valve-per-cylinder engine, it is very intelligently designed. It even comes
with a centerstand, which make routine stuff like chain lubrication infinitely
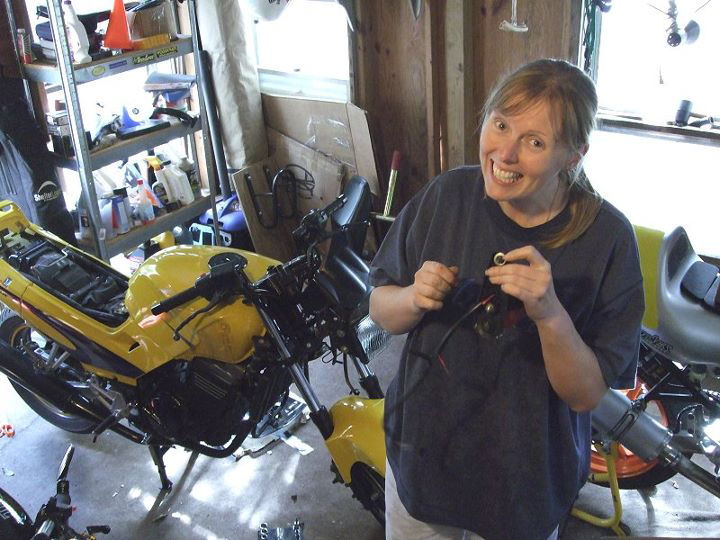
simpler. Gill does most of her own maintenance and she's very good at it. Other
than changing the oil and tyres though, we had done very little to the Ninja
since she bought it. At 12,000 miles, including many hours of track time, it was
due for a major service. The process was straightforward. The
Ninja is also fairly simple to work on. While it is a dual-cam,
four-valve-per-cylinder engine, it is very intelligently designed. It even comes
with a centerstand, which make routine stuff like chain lubrication infinitely
simpler. Gill does most of her own maintenance and she's very good at it. Other
than changing the oil and tyres though, we had done very little to the Ninja
since she bought it. At 12,000 miles, including many hours of track time, it was
due for a major service. The process was straightforward.
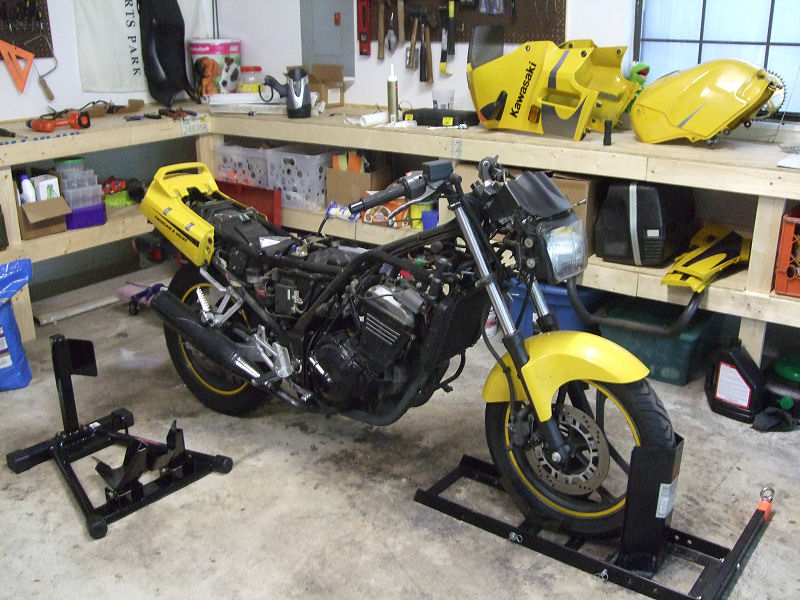
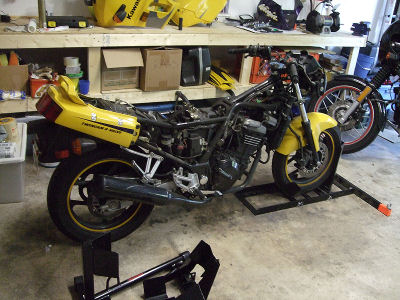
Remove all of the bodywork and you're left with a simple
engine in a simple steel tube frame. Again, it's a very smart design, as the
fairing, tank, seat and lower cowl come off easily so you can get to the
mechanical bits.

In addition to the seat, only five pieces need to come off and
you're ready to work.
Everything was fairly normal -- replace the plugs, change
the oil and filter, etc. The biggest revelation was the air filter. It's a
replaceable foam piece. This one had obviously never been replaced, as it
crumbled when we tried to remove it. I had to take the shop vac to it to get the
little pieces out of the airbox.

Removal of the valve cover is straightforward - undo the
bolts. There's plenty of room to slide it out, unlike some bikes. It does
require a little fiddling to get it past the coolant hose and over the cam
chain, but as these things go... simple.
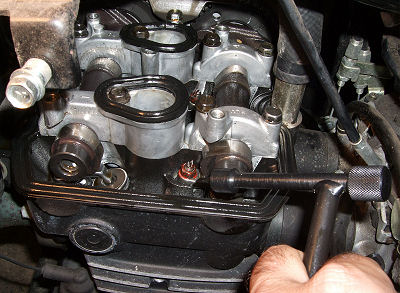
You could go to a lot of trouble finding top dead center,
but really... just measure the clearance one pair of valves at a time. It's
easy: Once the cover is off, with the engine in gear, use the
rear tyre to rotate the crank until the pointy end of a pair of cam lobes is
facing directly away from the rocker arm. In the picture below, that's one of
the intake cam lobes pointed away from its rocker arm. The other lobe is on the
other side of the cam cap. Measure them as a pair by sliding a feeler gauge
blade between the cam lobe and rocker arm.
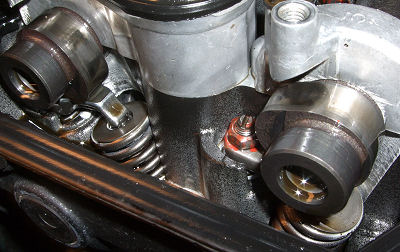
In the next picture, you can see how the cams operate the
rockers. These one on the left is about to close, while the one on the right is
about to open. When the rounded part of the cam is facing the arm (and the pointy end
is up), the valve is closed and there is a tiny bit of space - .08-.13 mm for the intake side, .11-.15
for the exhaust (since the exhaust side is hotter, the metal expands more and
needs more clearance).
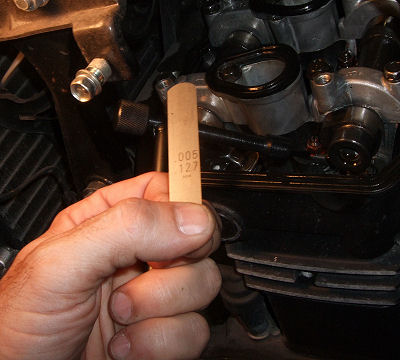
Measure by sliding a feeler gauge blade between the cam
lobe and the rocker. It should just barely drag. If you have a set of metric
gauges, good for you. I use one that has increments of thousandths of an inch.
For instance, the .005 in. blade is .127 mm. Close enough for the .13 mm maximum
clearance.
Go for a clearance on the large end of the tolerance
scale, as the gap will close over time. If the right-sized blade fits with just
a minimal amount of drag, you don't need to adjust anything. Move on to the next
pair.
If the blade won't fit, or slides right in without
touching both surfaces, you will need to fix the clearance.
Now the cool part: Adjustment on the first-generation 250
Ninja is by screw and locknut.
There are no shims to replace, no need to remove the cams, and NO MATH to be
performed. You loosen the locknut and turn the adjuster with a screwdriver until
you achieve the desired clearance - you can actually adjust it until it just
barely causes friction with the feeler gauge.
Than hold the screw still and tighten
the locknut back down. Double check, because sometimes tightening the locknut
moves the adjuster screw just enough to change the clearance. You'll develop a
feel for it after you do the first couple. It's also a good idea to rotate the enging a few times and check again.
Some people accomplish the adjustment by holding a socket
with a pair of pliers or vise grips, and inserting a screwdriver through the
hole to work the adjuster. If you're only going to do this once, have
infinite patience and do not mind working in the insanely tight spaces of the
250 engine, go for it. However, while I'm all for improvising, the task is
made much easier with the "Kawasaki Special Tool," which costs about
as much as 15 minutes of shop labour.
It's basically a socket
welded on a tube with a handle on it, and a screwdriver that fits through the
tube. Slide it over the locknut, loosen nut, adjust screw, tighten nut, remove
tool. Easy.
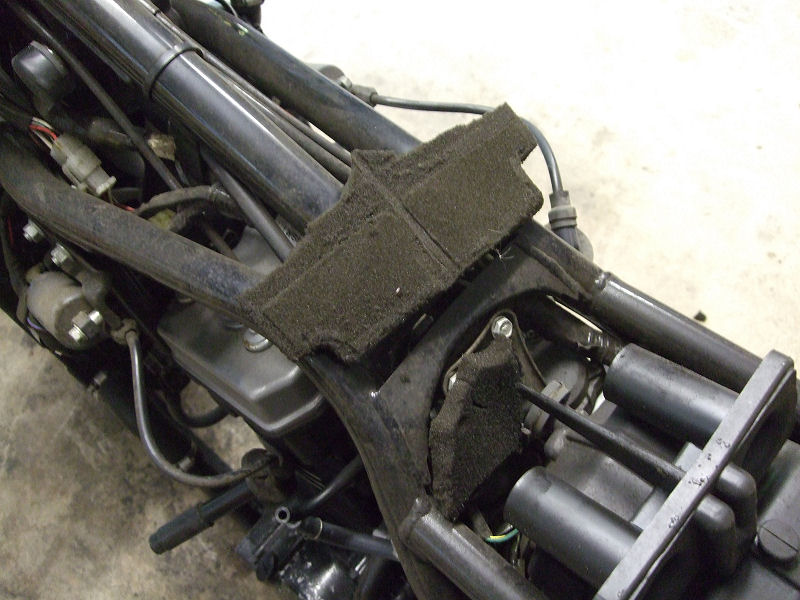
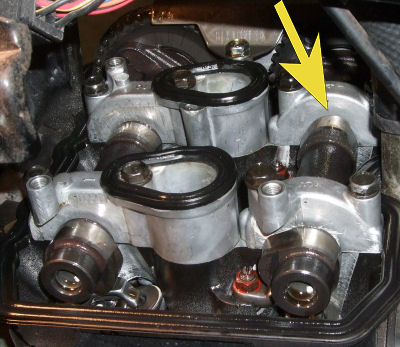
One word of caution. DO NOT drop a feeler gauge down into
the bowels of the engine. See this?
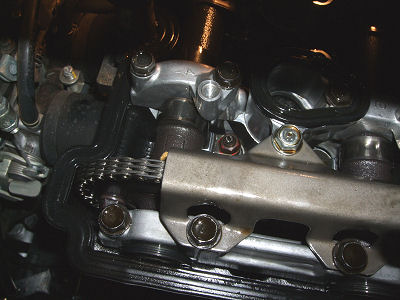
It's the cam chain. It runs in a "tunnel" that goes all
the way to the bottom of the engine case and will swallow your feeler blade
whole. This would be a Very Bad Situation and can only be remedied one of two
ways: disassembly of the entire engine or profuse, heartfelt prayers to the
motorcycling gods combined wiht the skillful and/or lucky manipulation of the
magnet-on-a-stick that every toolbox should have in it. Ask me how I know.
I highly recommend removing the most-often-used blades
from your feeler gauge set and stringing them together on a very long loop of
string. This will let you use a blade to measure clearance without the rest of
the set getting in the way, and if you drop a blade (of course you won't, but
hypothetically, you know), it is easily retrieved since it's on a string.
If you're one of the unfortunate souls who bought a 2008
or newer 250 (or now 300) Ninja, either because you don't like the '80s-tastic
styling or because you just want something new, congratulations! Your bike looks
really cool, and might even be mistaken for a bigger, scarier Ninja instead of a
relic of the WHAM! era. However, your engine makes slightly less horsepower and
valve adjustment is by shims and buckets. I would suggest getting an older ninja
to correct the problem, but that may not be practical so go
HERE.
Otherwise, put everything back together and have a beer
while your friend with the newer Ninja is busy doing maths and worrying about
whether he's got the cam back in correctly.


Return home
|