| BMW Service
I had been putting off fixing a bunch of odds and
ends on the airhead until it finally let me know it had enough by puking
oil on my boots every time I rode it. The pushrod tube seals were shot.
They're fairly simple rubber lumps which require the removal of the
cylinders to replace. It's a scary-sounding proposition which includes
removing the pistons from the rods and a bunch of other stuff. The
reality is, like most things, more a matter of taking your time, being
patient and following instructions. I could detail the process here, but
THIS GUY
has done an outstanding job of it. Better than reading the manual.
Other items included:
- New tyres and tubes
- New fork oil and fork gaiters
- Oil and final drive fluid change
All pretty straightforward stuff, but as usual,
one thing leads to another. More on that in a minute. First of all, the
wheels came off. Centerstands are wonderful things. More bikes should
have 'em. I find it's easier to take off the front wheel first. That way
there's room enough to wiggle the back off of its final drive and out.
The alternatives involve removing the fender and other bits, or laying
the bike on its side.
With the back tyre replaced, the splines were greased - service nazis
will tell you to use ONLY der special BMW grease, but a good high-temp grease
or even anti-sieze will do. Then the ass end returned to earth and the
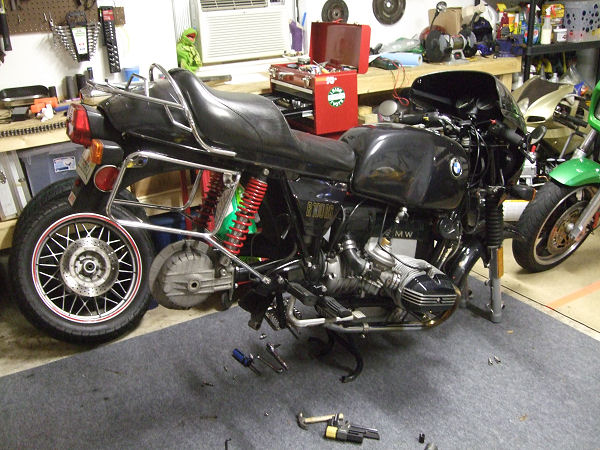
front end came off. This required removing the fairing, fender,
handlebars and a bunch of other stuff. The end result was an apparent
mess.
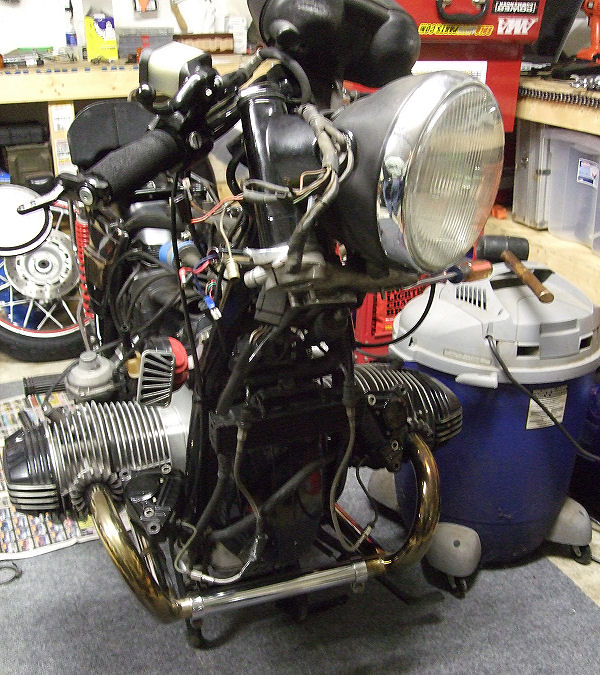
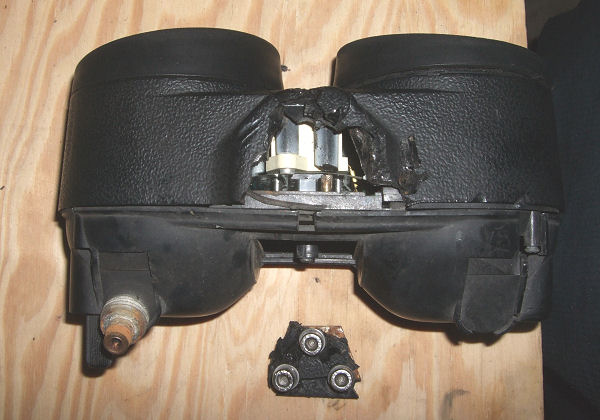
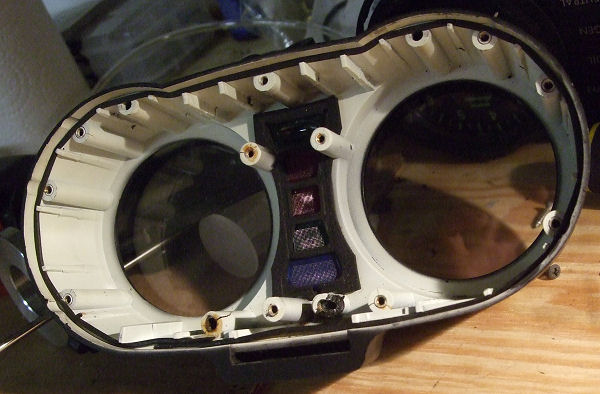
See that instrument pod at the top? It disintegrated at its mounting
point and would have to be replaced. Also, once everything was cleared
out, an even scarier problem presented itself.
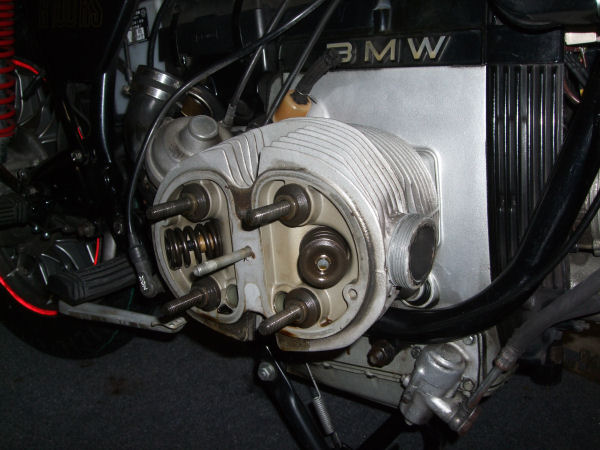
First, though, the cylinder disassembly.
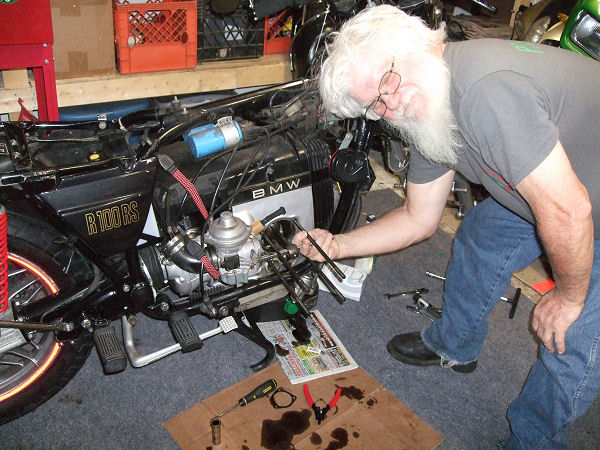
As always, it helps to have some expert assistance.
With the seals done and the engine back together, it was time to deal
with the forks - just fluid and gaiters. But with the forks off, I
noticed something frightening.
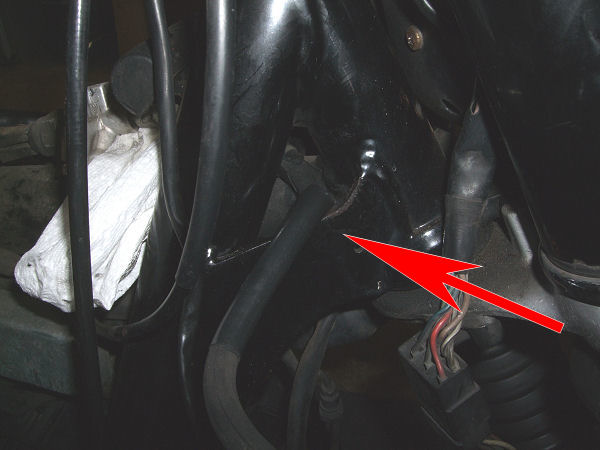
That's the main brake line from the master cylinder to the splitter
for the front calipers. It had been rubbing on a frame gusset. I took
the line off and this is what it looked like.
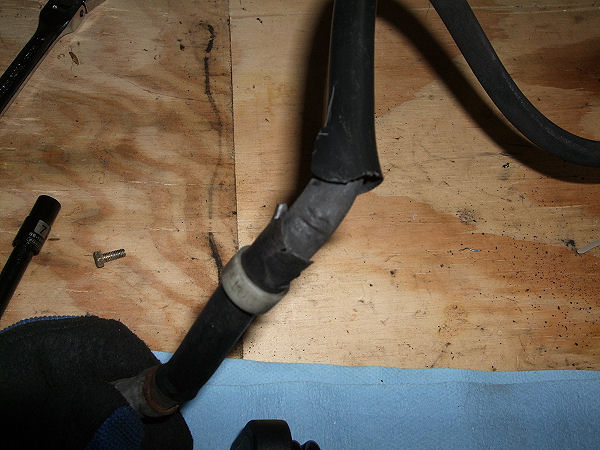
Yeah, that's a nice little slice through the protective sheath and
into the brake line itself. Why did this happen? Probably because at
some point, someone had put in a line that was too long, which caused
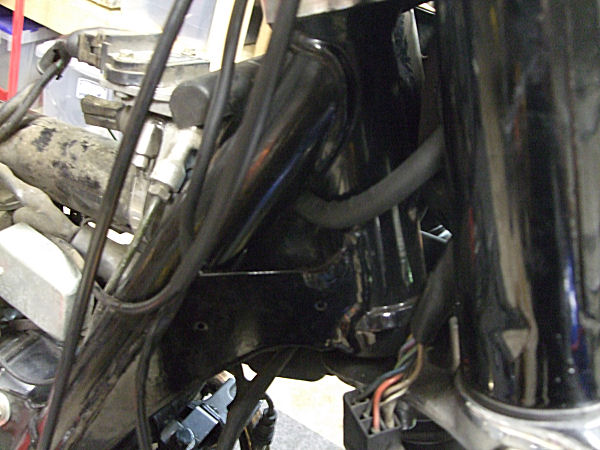
the routing to be off. I ordered the correct line. See the difference?
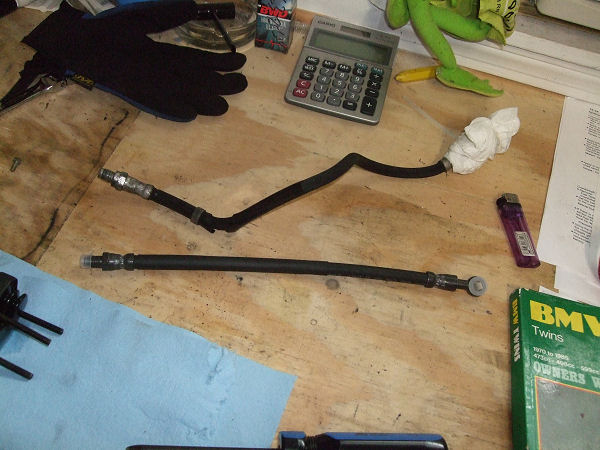
The new line is a lot shorter, and fits better - no rubbing on sharp
edges.
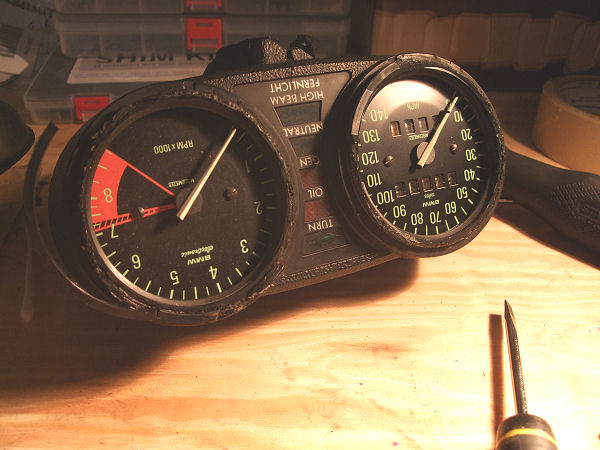
This left only the problem of the broken instrument cluster. Since
the charging system runs through the instrument pod, it's essential to
the operation of the bike. The case is plastic, with metal
reinforcements where it attaches to a bracket on the triple tree. Mine
had crumbled.
New parts are insanely expensive. Used ones are mildly crazy. I
considered a couple of options including bodging it together, and in the
end picked up a used instrument cluster on Ebay relatively cheap, mainly
on accounta the seller didn't know if the instruments actually worked or
not, so there weren't a whole lot of interested buyers. No matter - I just needed the case.
I considered just trying to use the new instruments, but the odometer
would have been wrong, so I decided to swap out the parts instead. Also,
it was missing one of the lenses, so I salvaged them from the old pod.
Someone had messed with it before - they were attached with some sort of
black epoxy. Removing the glass finished the destruction of the
instrument case.
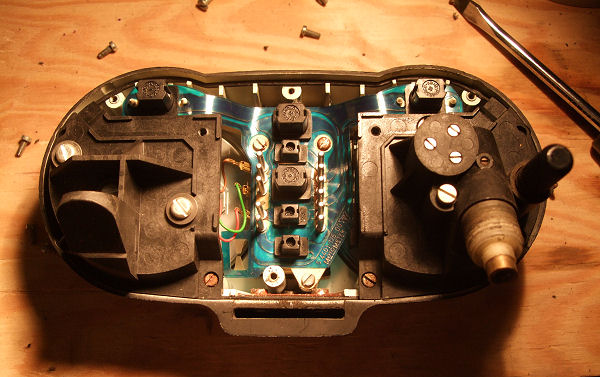
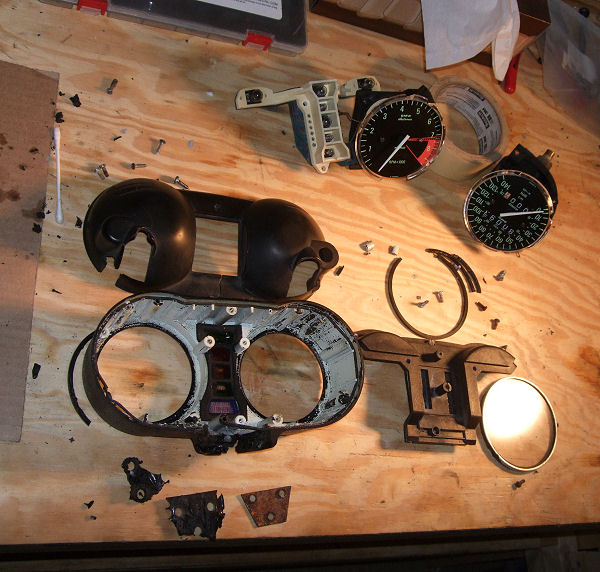
The first step is removing the instruments. Pretty simple - just
start taking out screws.
The new case is ready for the lenses.
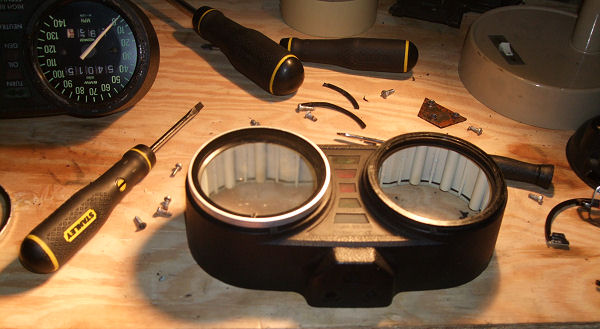
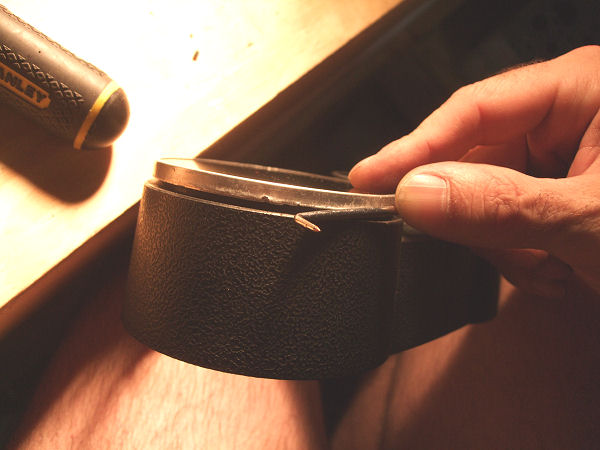
The glass is held on by a bezel and can be removed by carefully
bending back the metal for about half the circumference.
 To install
it, I found that one of my awls was the perfect size to roll the metal
under and secure the glass to the case. I'm working clockwise.
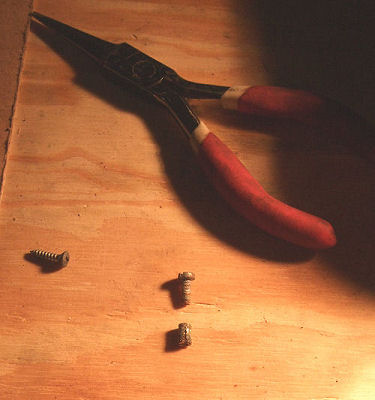
Another problem presented itself - the assembly is held together by
machine screws in metal inserts set in the plastic housing. After a few
decades, the plastic cracks. Note the four holes at the bottom of the
next picture.
 In
some cases, the inserts fell out or were lost. Fortunately I had spares.
They are very small.
 Repair was
just a matter of patience and epoxy. Most of the broken pieces were
still present, so they could be joined back together. I had a lot of
leftovers, but you never know when you're gonna need something, so
they'll get filed.
 And the
refurbished cluster goes back on. Ideally, it'll stay put another 30
years. 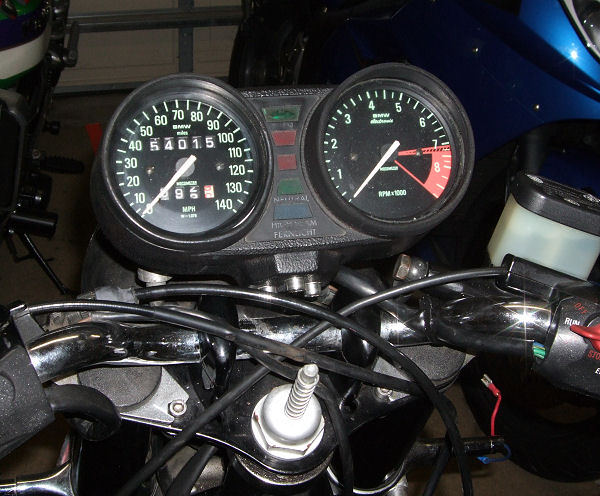

Return home |