|
2000 Kawasaki
ZRX1100
Resurrection from non-running to cool retro
ride, part 1
|
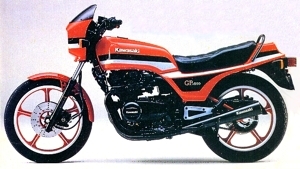
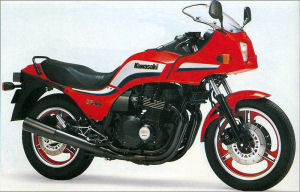
GPz550
|
My very first motorcycle was a Kawasaki GPz550 like the
one on the right. That was
back in the last century, when there was no such thing as a Motorcycle Safety
Foundation riding course. Humans were hardier then, if less sensible. You bought
a bike and you fell down a lot until you learned to ride it. I totaled mine,
twice, and after the second time I did what any sensible 20-something would do:
bought a bike with twice the displacement, the GPz1100.
That bike was stolen one night while I slept, probably by
someone looking to break it up for parts. The 1000/1100 Kawasaki engine was and
still is a popular basis for drag bikes. After that it was on to a long affair
with a 1975 BMW R90/6, but as they say, you never forget your first.
|
GPz1100 |
These days, it's really hard to find any GPz in decent
shape unless you want to shell out a lot of money. Most were modified (my 550
sported a 4-into-1 and K&N pod filters), ridden hard, and crashed.
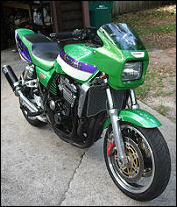
Fortunately, Kawasaki captured the spirit of those early GPzs and their
Eddie Lawson Replicas when they brought out the ZRX1100 in 1997. As Sport Rider
magazine said in its review: "Anyone who followed AMA Superbike racing in the early '80s will know what this bike is all about. There's no mistaking the lime-green paint with blue and white stripes, the swoopy tail section, the piggyback shocks and the bikini fairing. It oozes nostalgia."
I finally got a ZRX of my own, but it hasn't been an easy
time.
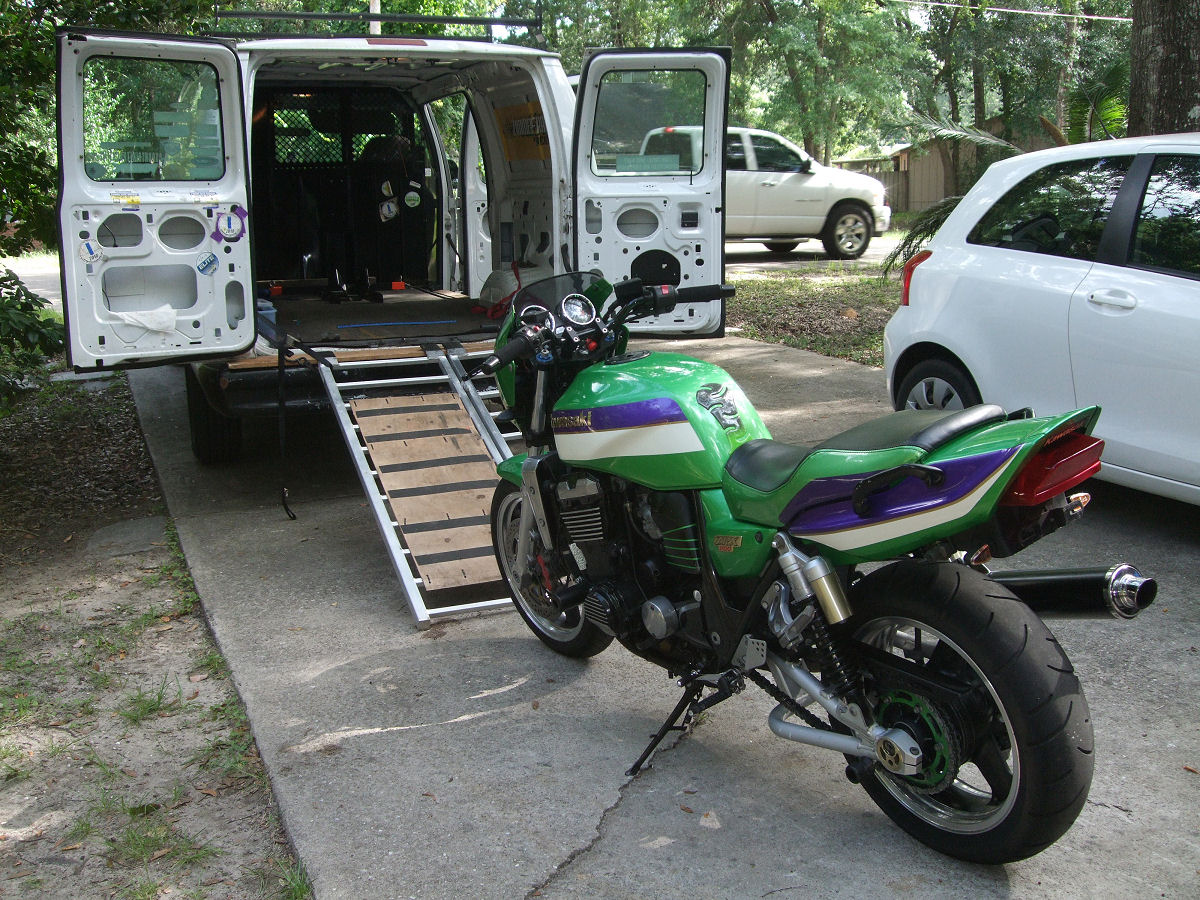
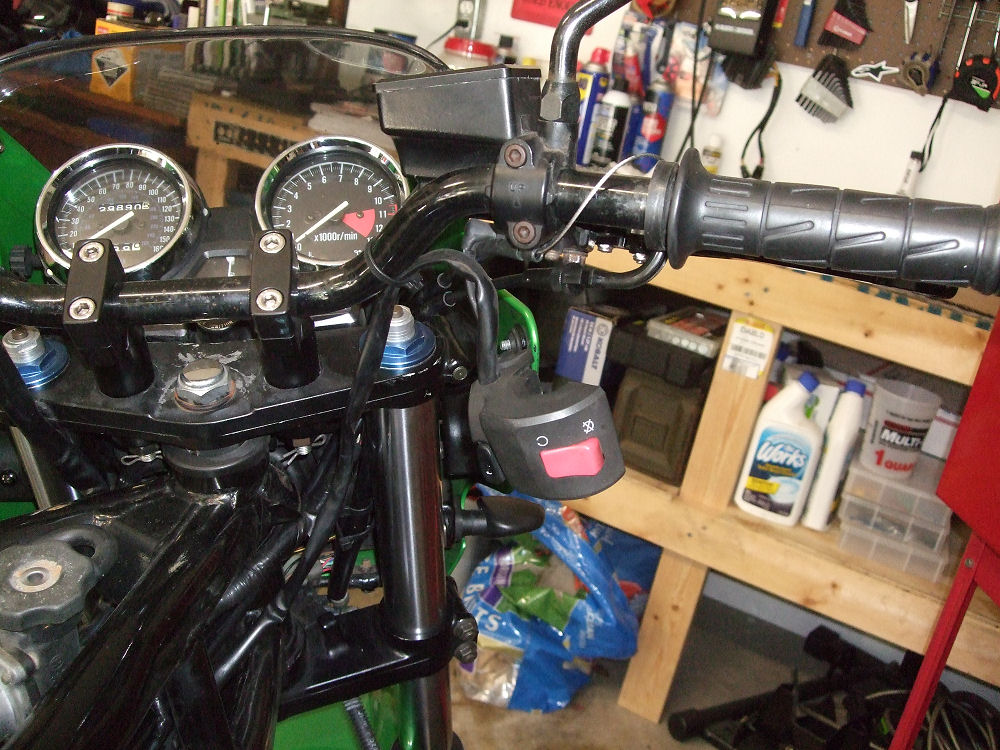
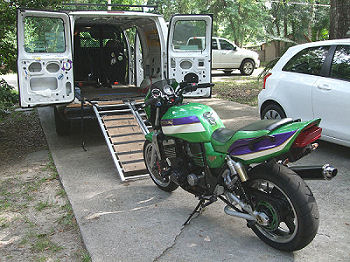
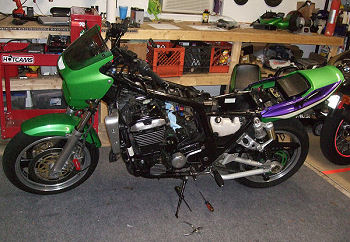
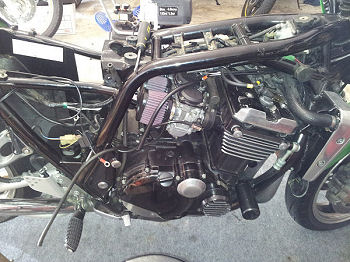
Fresh off the van, it looked good. Relatively clean for
just under 30,000 miles, still with the original owner's manual and toolkit.
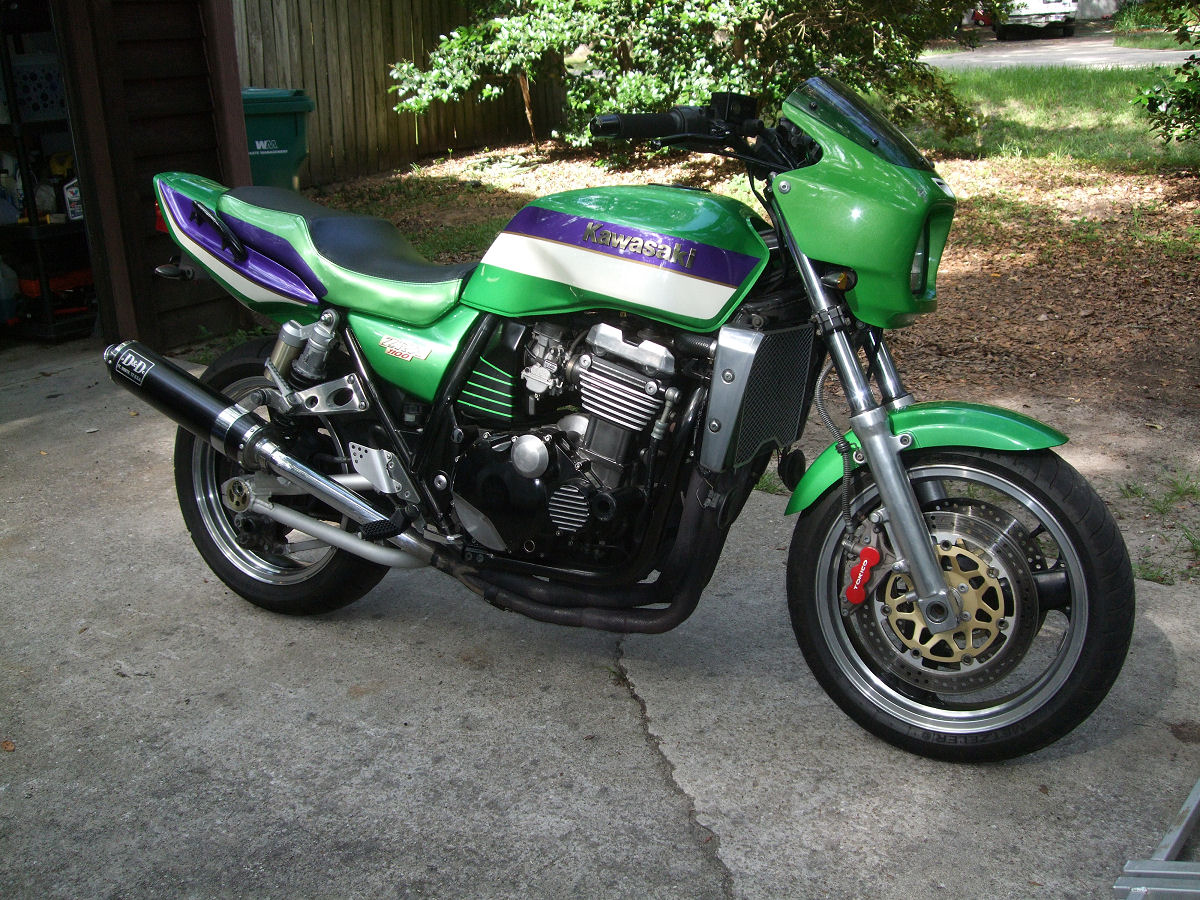
There were a few cosmetic abominations. Someone had
painted the face of the front brake calipers red, with a brush, and put silly
looking green stripes on the sidecovers. It also has a D&D exhaust which is
beginning to rust, and the previous owner had fitted an oversized rear tyre. But
still, not bad.

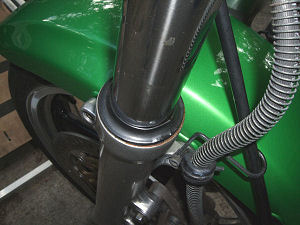
Closer inspection revealed a leaky fork seal, which
is pretty common on bikes that have sat around a long time as the seals can get
hard with age.
No biggie. I planned to give it a good tune up. Fork seal
would just be one more thing. Except there was a bigger problem - it wouldn't
run! At first, it would start after much fiddling, and it would idle, but it was
rough and sounded wrong. Checking the headers, it turned out that only one pipe
was hot, meaning it was only running on one cylinder. After three or four times,
it quit starting altogether.
Something was missing - gas or fire. Since when it ran,
one cylinder fired, my first thought was bad coils. But I ran all or the
diagnostics in the manual and everything checked out okay, although I did learn
one valuable lesson - the resistance of the coils needs to be measured with the
spark plug boot OFF. The boot adds resistance, the reading will be out of spec,
and you will think the coils are bad and you need to buy new coils.
Unfortunately, I only learned this after buying coils. Now
I have spares. Finally, I used the old-fashioned method of grounding the
spark plugs to the engine and looking for spark - all four cylinders had it.
That meant it was a fuel issue.
There is a vibrant on-line community of ZRX owners with a
very active internet forum, www.zrxoa.org, so
I decided to consult with them to see if anyone could diagnose the issue. Since
it's the interwebs, this of course led to a pissing match, with several members
insisting it was the battery - ZRXs need a healthy battery otherwise they will
just turn over and not start. I had measured the battery six ways from Sunday
and it checked out good. They did not believe me.
I ended up corresponding with Pete Aaronson, one of the
members who has a business making ZRX parts and repairing the bikes:
Hyperformance.
His knowledge and assistance turned out to be invaluable.
We agreed that since I had no idea how long the bike had
sat, how old the fuel was - any of it - the best way to start would be to clean
and rebuild the carbs. I could have done it myself, but Pete charged a very
reasonable fee and since he has done enough to know how to put 'em together
blindfolded, I figured that it was easier to send him the carbs.
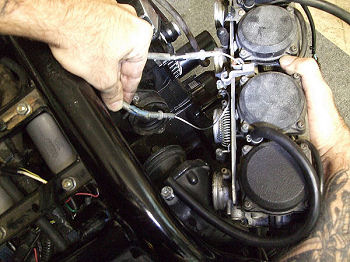
Just getting them off was an adventure. They sit in rubber
mounts between the engine and a two-piece airbox. One of the most diabolical
bits of motorcycle engineering ever devised, the housings surround the frame.
You have to loosen both to get enough room to wrestle the carbs out, and even
then there's only about a half-inch of wiggle-room.
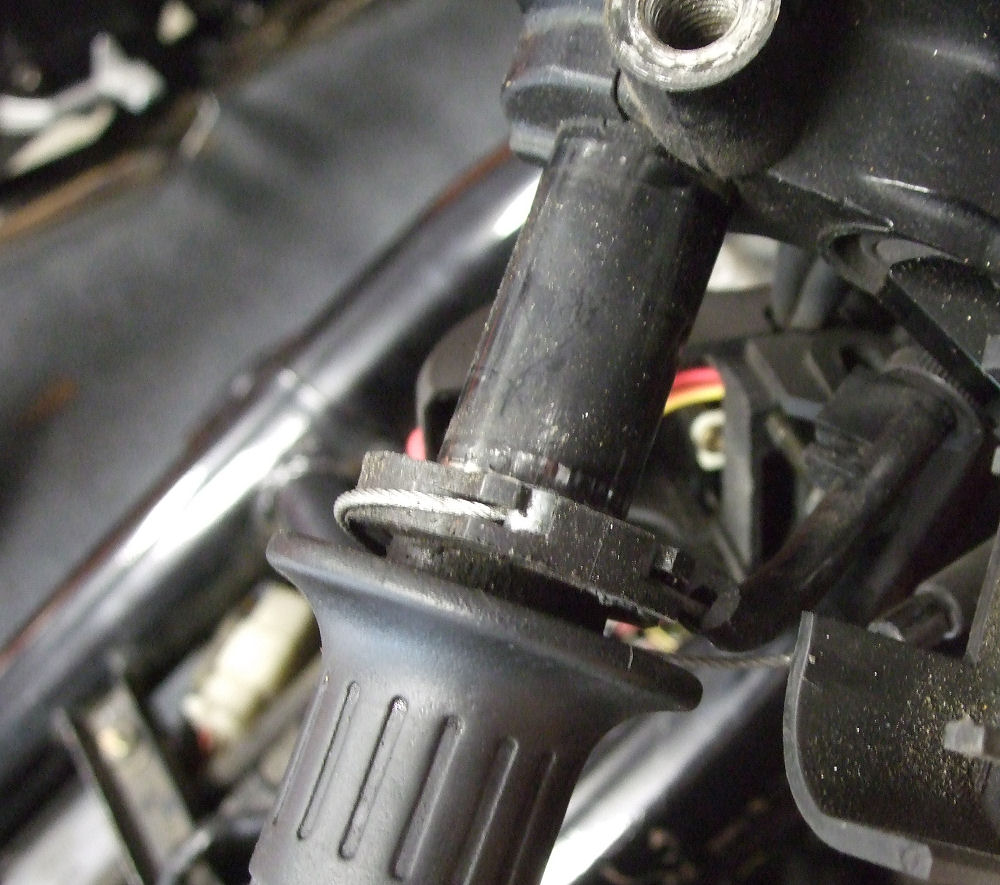
The ZRX also uses a push-pull, two-cable throttle assembly
that has to be undone.

Someone had already had them off, as they were marked with
tape at the carbs to keep track of opening and closing cables.
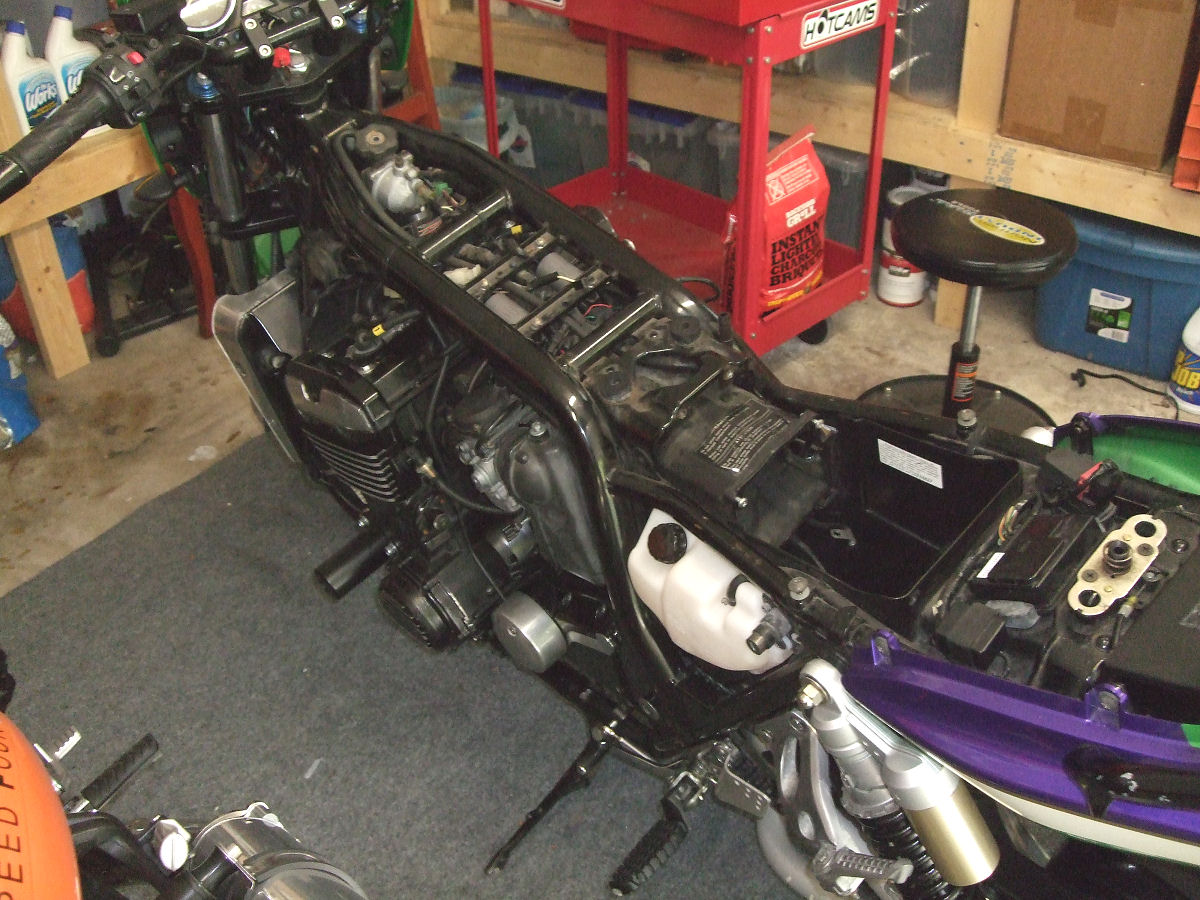
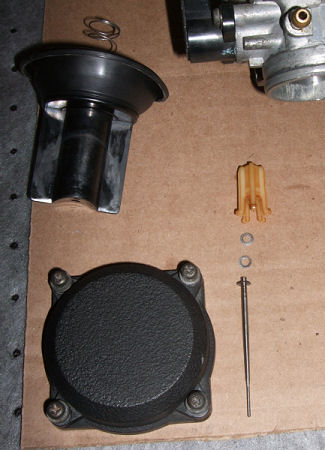
With the carbs out, you can see the front half of the
airbox assembly there on the left.
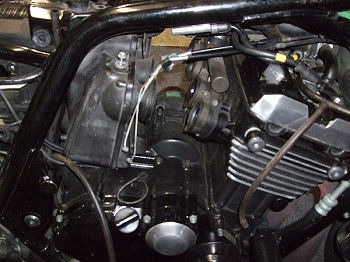
With the carbs out, everything gets plugged up to keep
things from nesting inside.
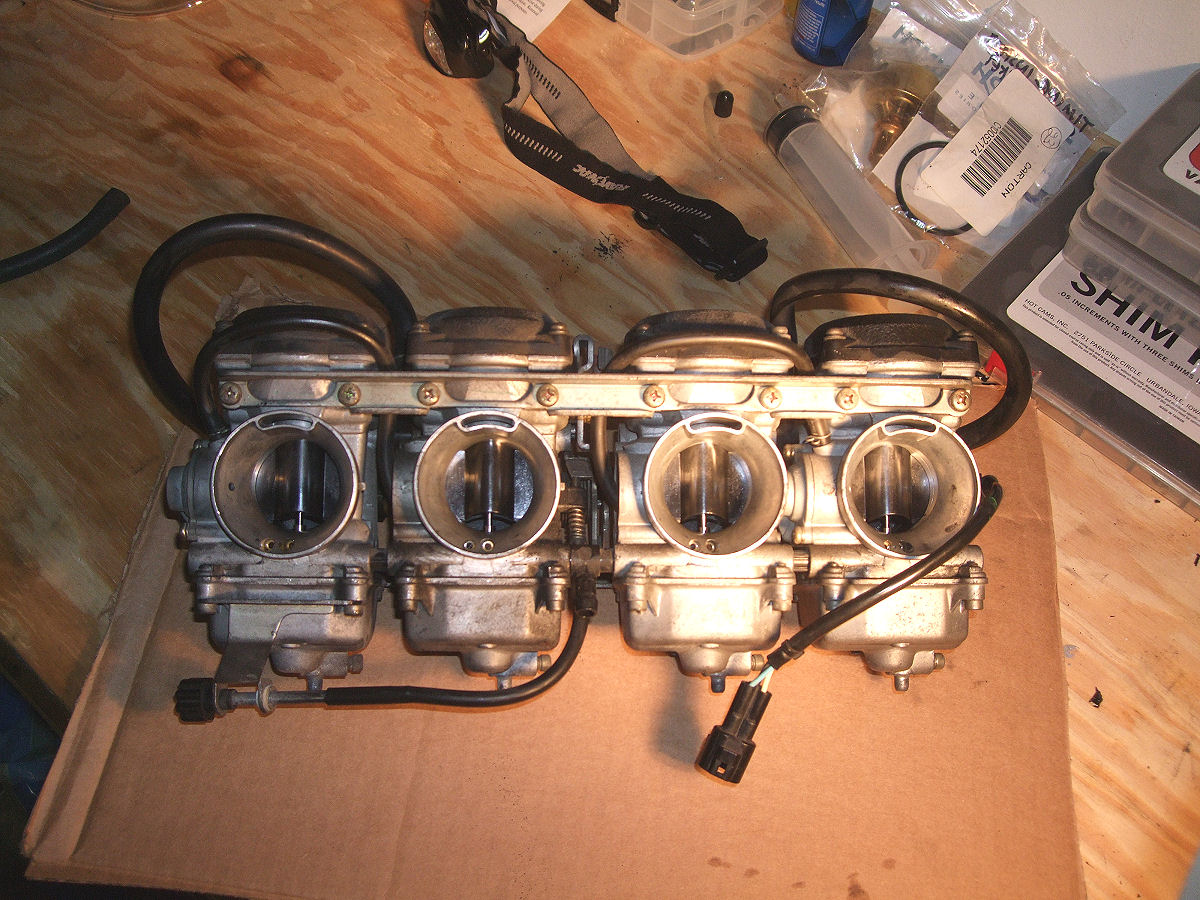
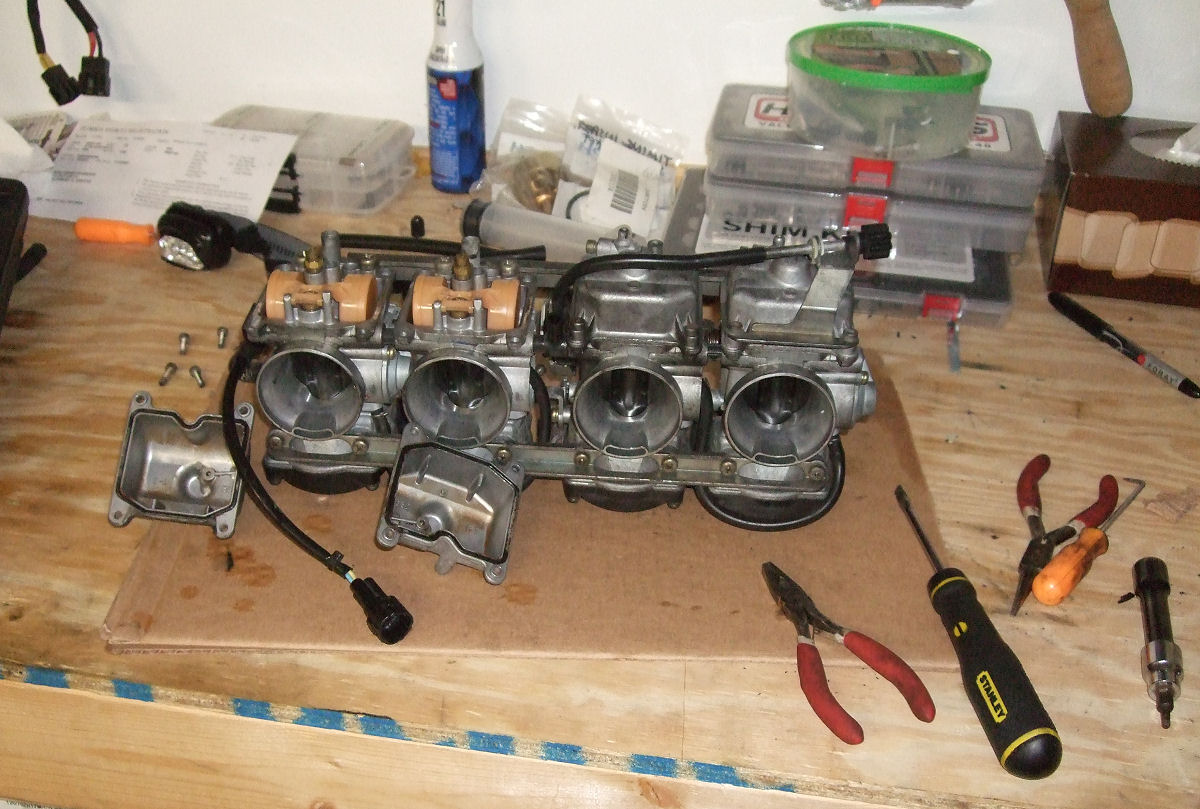
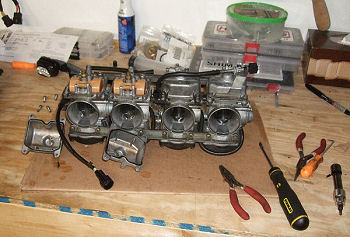
And the carb assembly goes on the bench for inspection.
This is the side that goes to the engine.
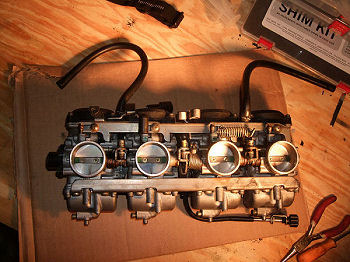
And the side that goes to the airbox.

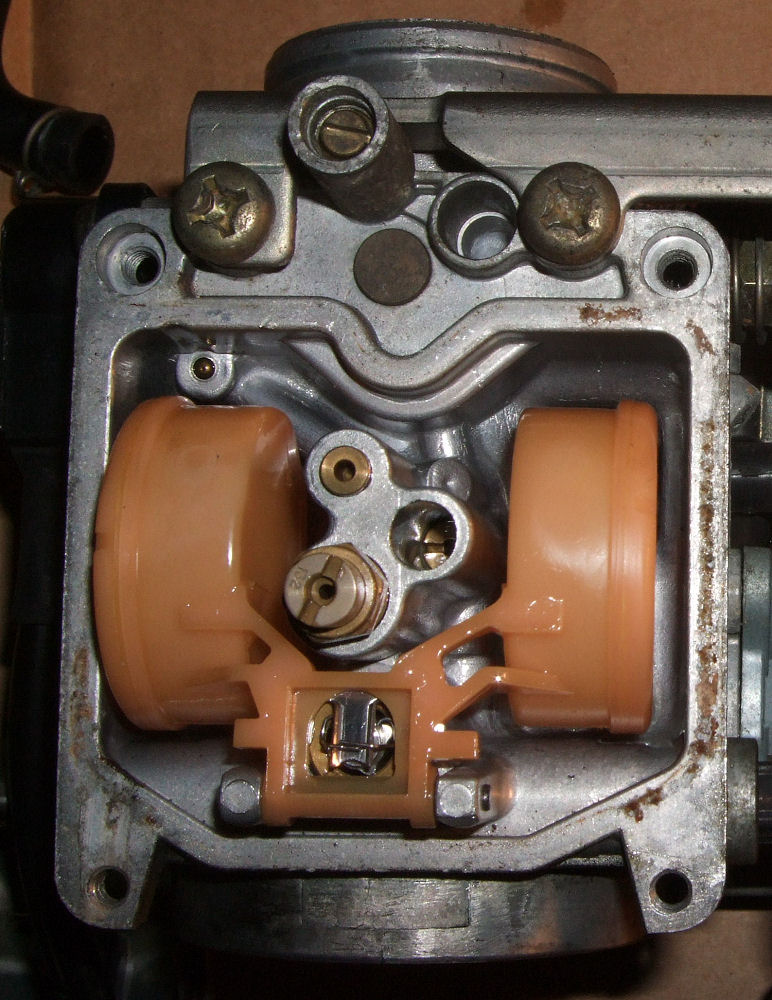
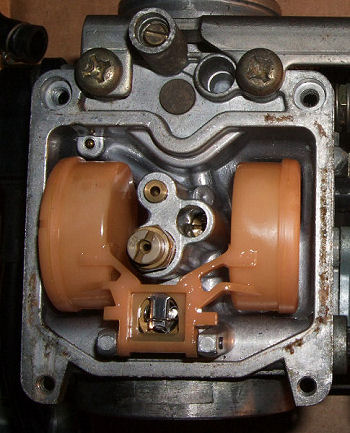
I took off a couple of the float bowls to see what they
looked like inside.
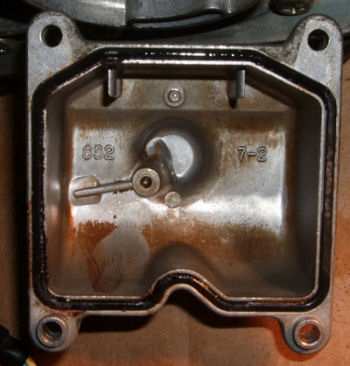
Here's the float.
And the bowl, full of dirt and with a crushed and leaking
o-ring gasket.
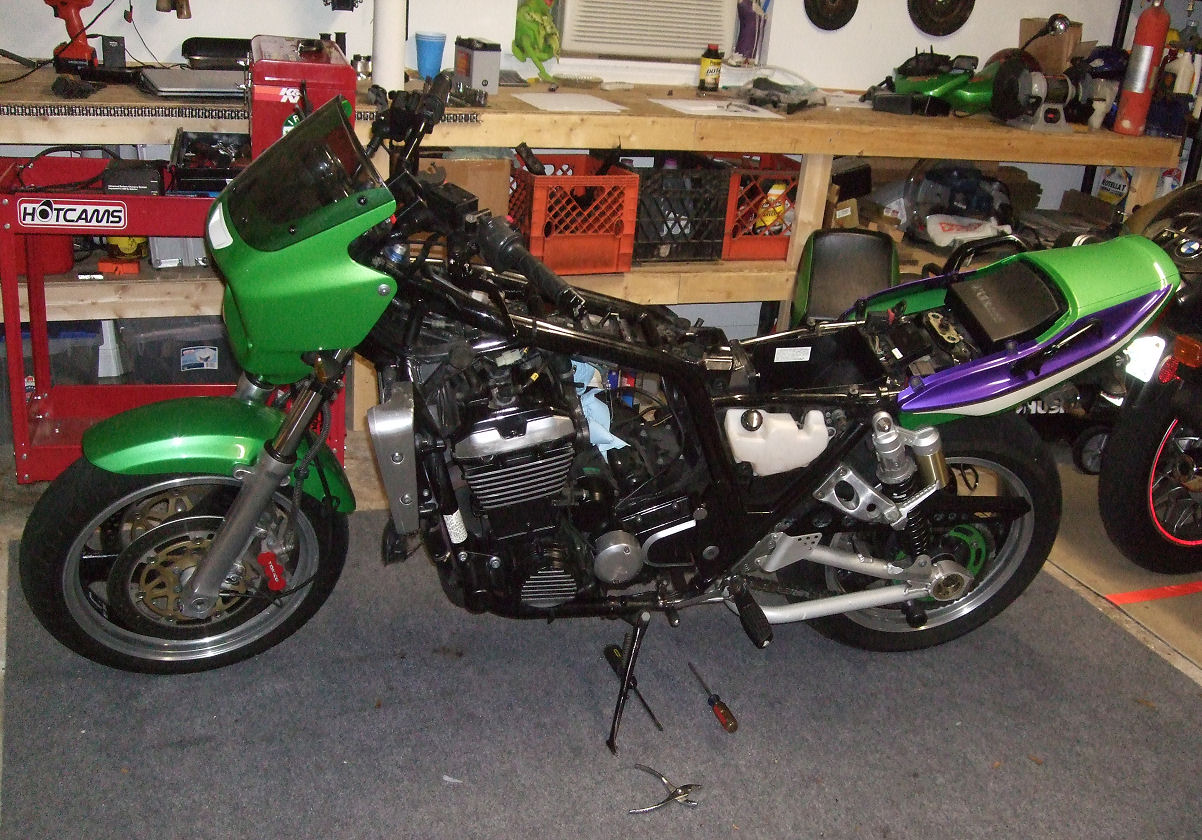
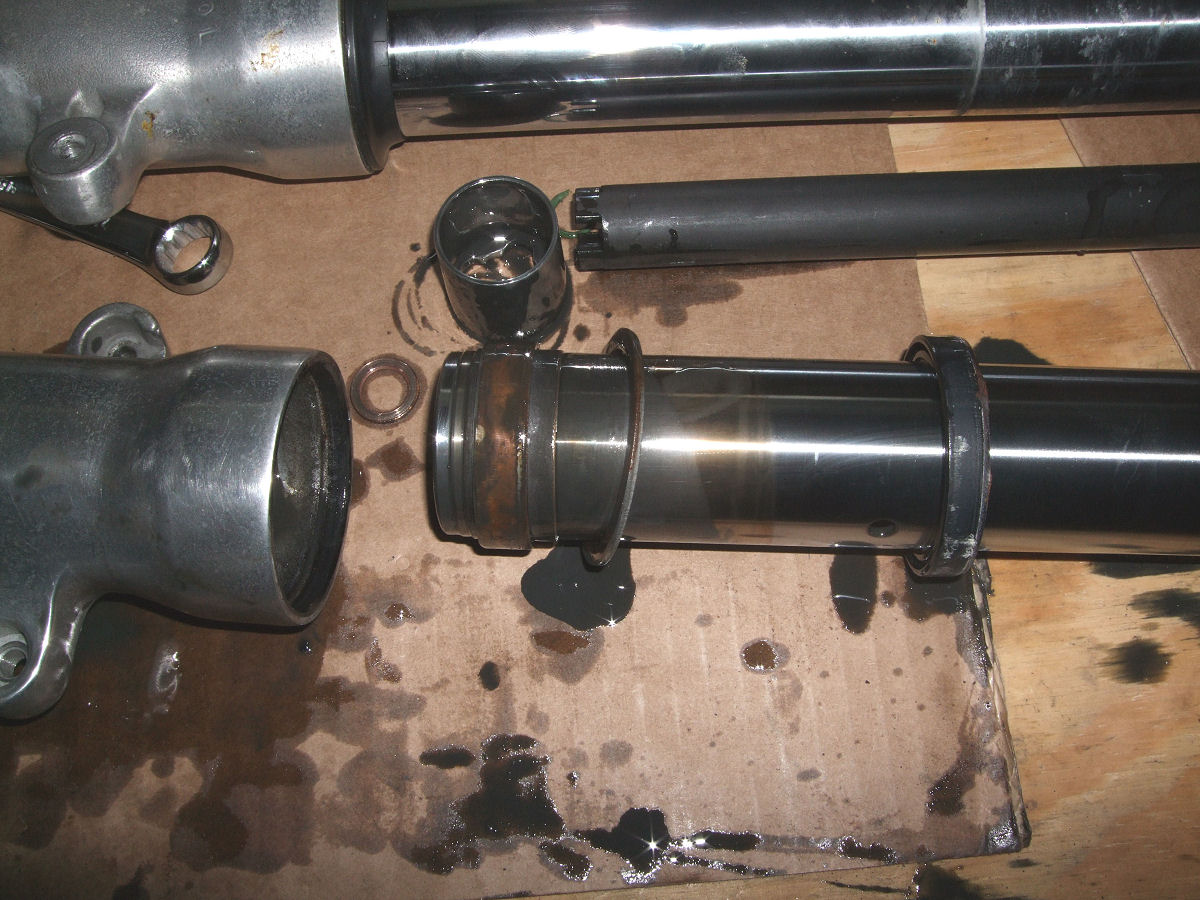
While the carbs were off getting cleaned, the fork seals got replaced. I don't
think the forks had ever been apart or had their oil changed. That black stuff?
It's supposed to be clear.

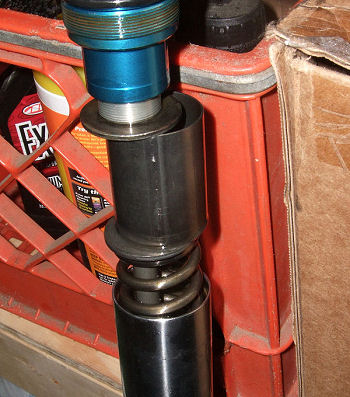
The seals were a straightforward job. I could post
instructions and pics, but really, just go watch
THIS GUY. The ZRX forks are similar and the
process is nearly the same, although I highly recommend getting the
"Kawasaki special tool" to hold the damping assembly while tightening the bolt
in the bottom. It's the black cylindrical thing between the forks in the pic
above. It makes life MUCH easier and it's still cheaper than 20 minutes
of shop labor. Also, if you're going to do more than one set of forks in your
life, go ahead and get a fork seal driver. The universal type is fine for most
bikes. It's also cheaper than 20 minutes of shop labor and easier than trying to
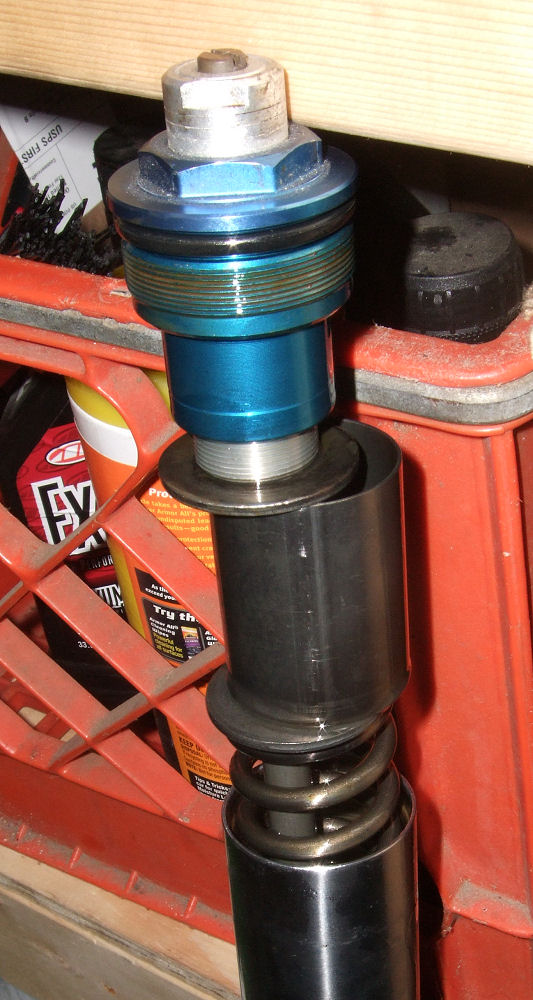
make do with a piece of PVC. Here's the top of the fork right after removing the
cap. Take pictures and keep everything in the order that it was removed!
Meanwhile back in carb-land, things got weird. The carbs
came back, the bike started right up and ran okay up to about 3/4 throttle, then
it stumbled. It worked great trolling around in town, but for a spirited ride,
it was a no-go.
As it came to me, the airbox had no snorkel and had two holes cut in it. Pete said to
block off the holes and put a snorkel on, basically returning it to stock. That
made it worse. It still ran great around town but wouldn't even hit 70mph without
choking. This wasn't Pete's fault. We both assumed the carbs were stock.
That assumption was wrong. The carbs came off again to see
what kind of jetting they had.
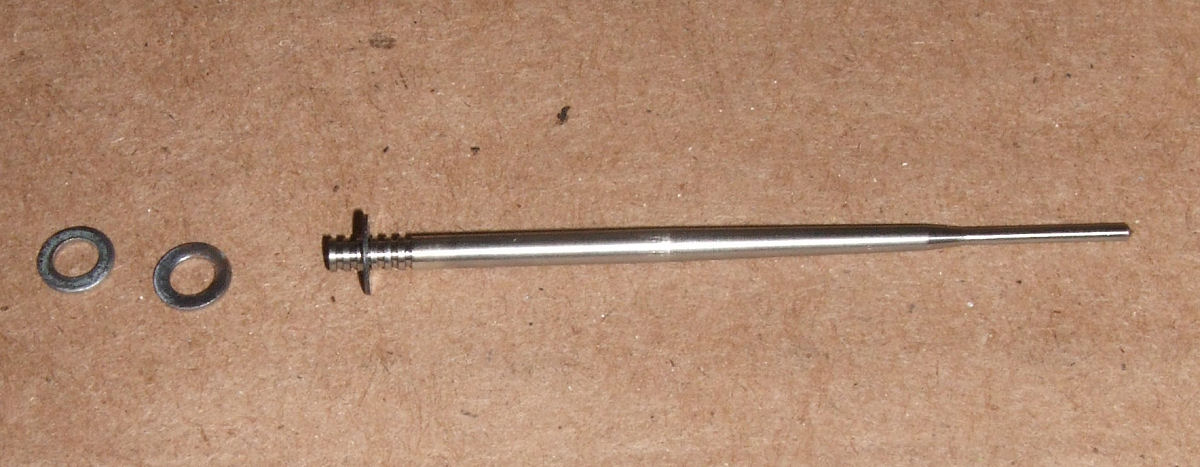
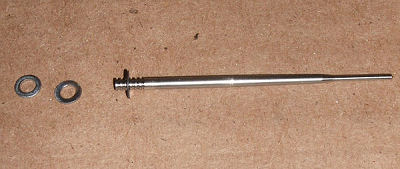
Here's the throttle slide assembly. Again, taking pictures
of everything helps keep track of how it goes back together.
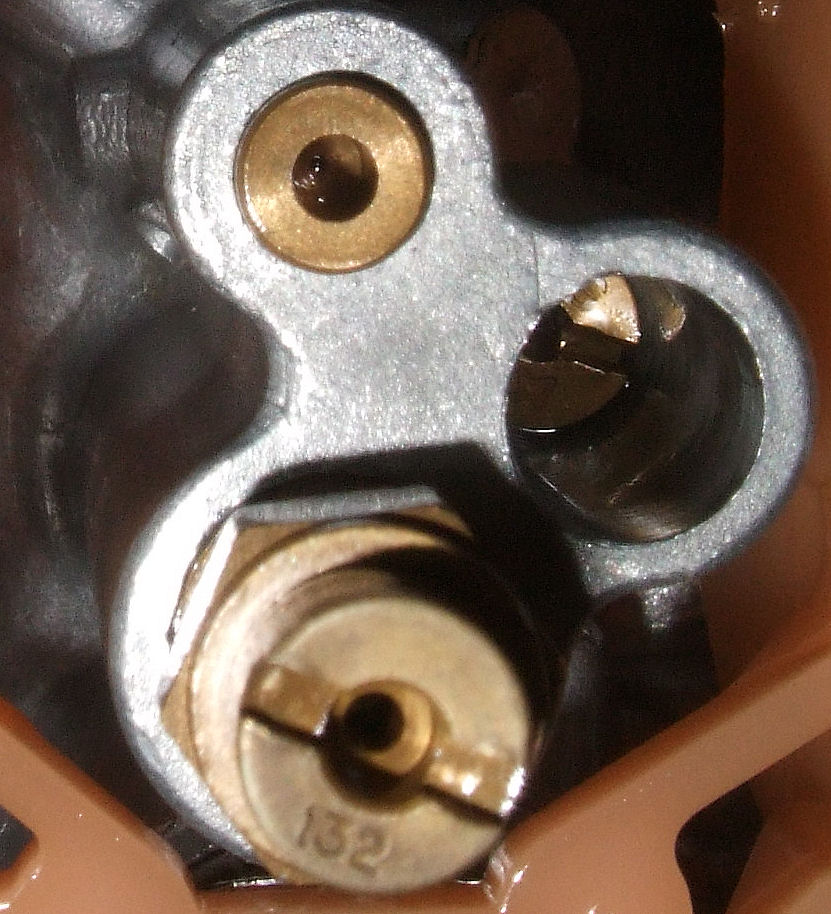
This is the main jet.
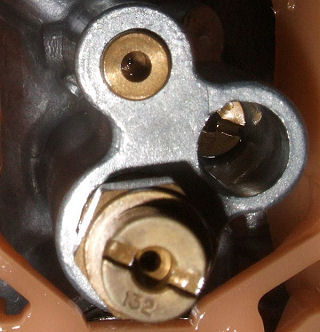
Pete ID'd the jet. That little number identifies it as a Dynojet 132. The
needle also has an odd taper at the end and is a Dynojet item as well.
Turns out this bike was set up for a free-flowing air
intake and I'd been going the opposite direction, returning it to stock. Another
lesson learned - never assume anything is stock on a used bike.
This particular bike had a Dynojet "Stage 3" jetting kit,
which was actually a good thing. According to Dynojet's instructions, that size
jet should be used with pod-style filters, which I'd been thinking about using
anyway. Now I wouldn't have to buy a jet kit.
There are pros to going with pod filters (like more airflow and all
the fact that all the cool kids
use them) and cons (like more heat from the engine getting to your legs, and they can get soaked in the rain), but the
biggest factor in my decision was that I did NOT want to deal with that airbox
setup any longer, especially if I was going to have to take the carbs on and off
in the process of setting them up. When it takes longer to remove and install the carburetor
assembly than it does to tune them, something's wrong.
I set the needle height according to Dynojet's
instructions and put the thing back together, along with a set of K&N pod
filters, just like on my old GPz.
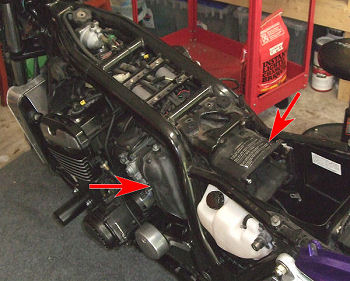
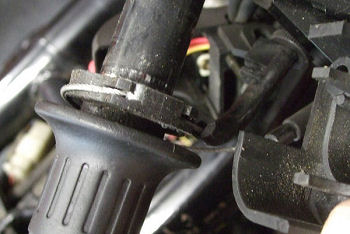
This also meant removing some emissions plumbing. For
instance, there is a breather apparatus connected from the top of the cam cover
to the airbox. No airbox meant this had to go. The picture below shows the tube
going into the top of the cover.
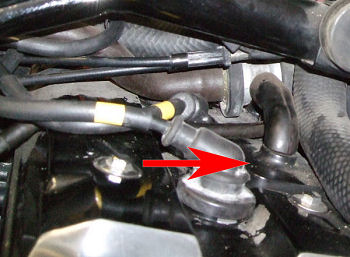
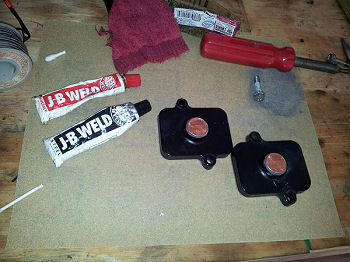
You can buy really cool billet blocking plates anywhere
from $20 to $50 a set. Being a member in good standing of the Poverty Riders
International, I opted for the two-cent solution.
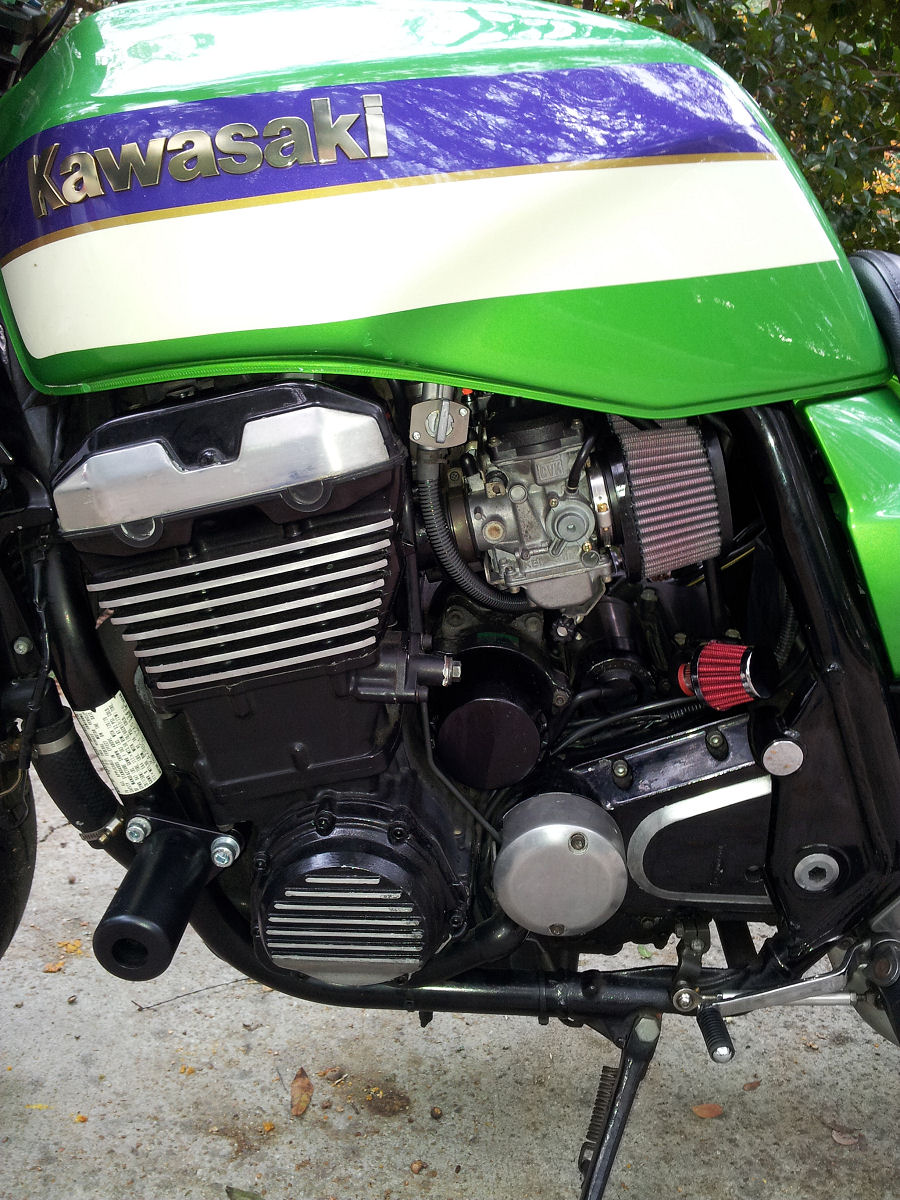
I figured there would be more tuning - needle height, air
screws - but once back together, it ran like a champ and well over 70. How much
over? Ain't sayin'. But it's very, very good.
That red filter on the lower right is a breather filter,
$10 from Auto Zone. It caps off the end of the crankcase breather tube that used
to go to the airbox.

Now that it's running, all I have to do is either fit a
new exhaust or get this one ceramic-coated, service the brakes, check the
valves, and do all the other stuff I had planned in the first place. Stay tuned.

Return home
|