|
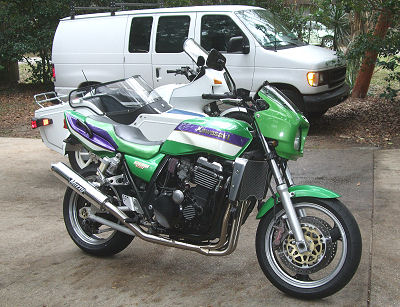
2000 Kawasaki
ZRX1100
Part 2: I swear honey, it's not just
cosmetic.
With the green beastie finally living and breathing
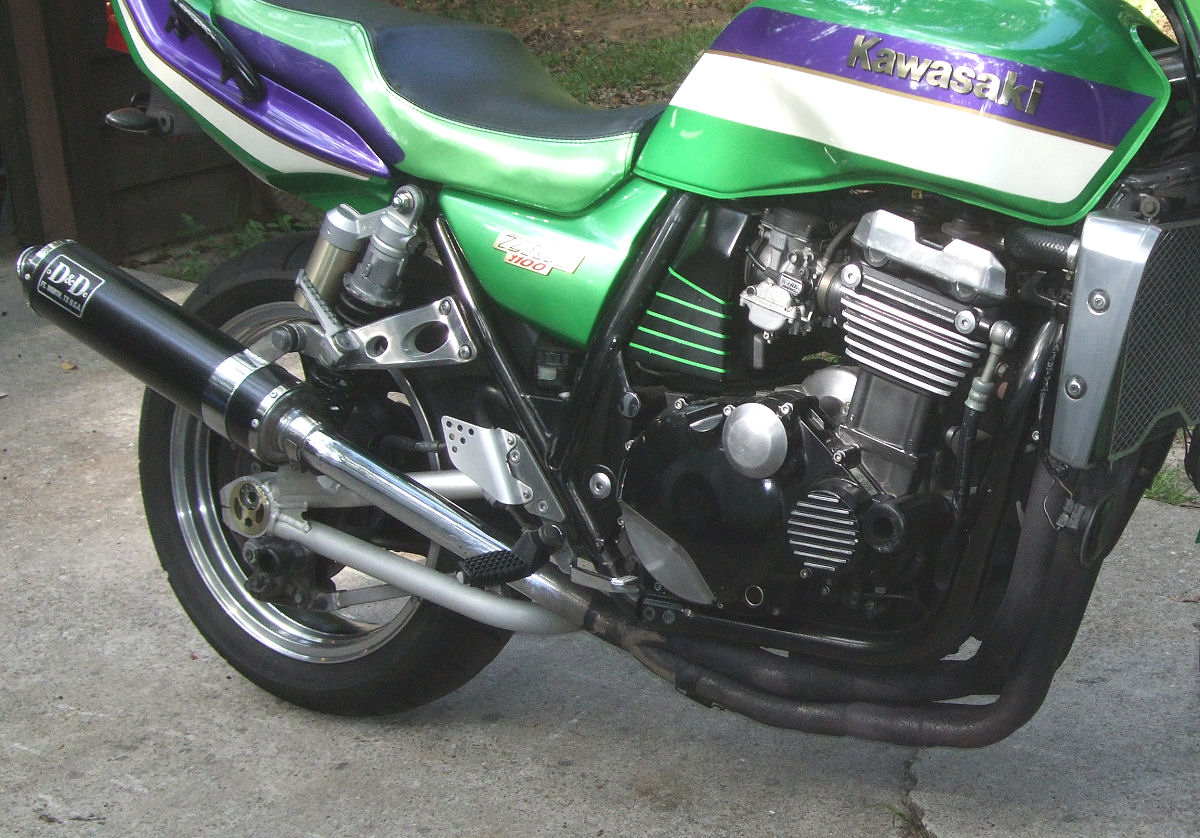
properly, it was time to tackle other less-pressing issues. As previously noted,
it came with a D&D exhaust system. And the carbs were jetted for the full,
free-flowing exhaust. If you don't want to re-jet, don't get a full system. Just
get a slip-on and sound cool.
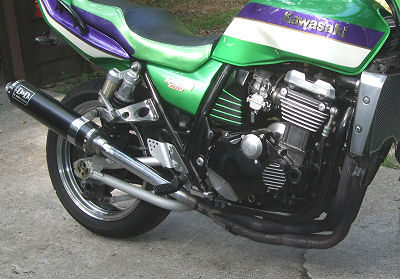
Comedians will tell you D&D is short for Deaf and Dumb, on
accounta they are notoriously loud. This one certainly was, but not unbearably
so. And it offered more power with less weight than a stock system. However, it
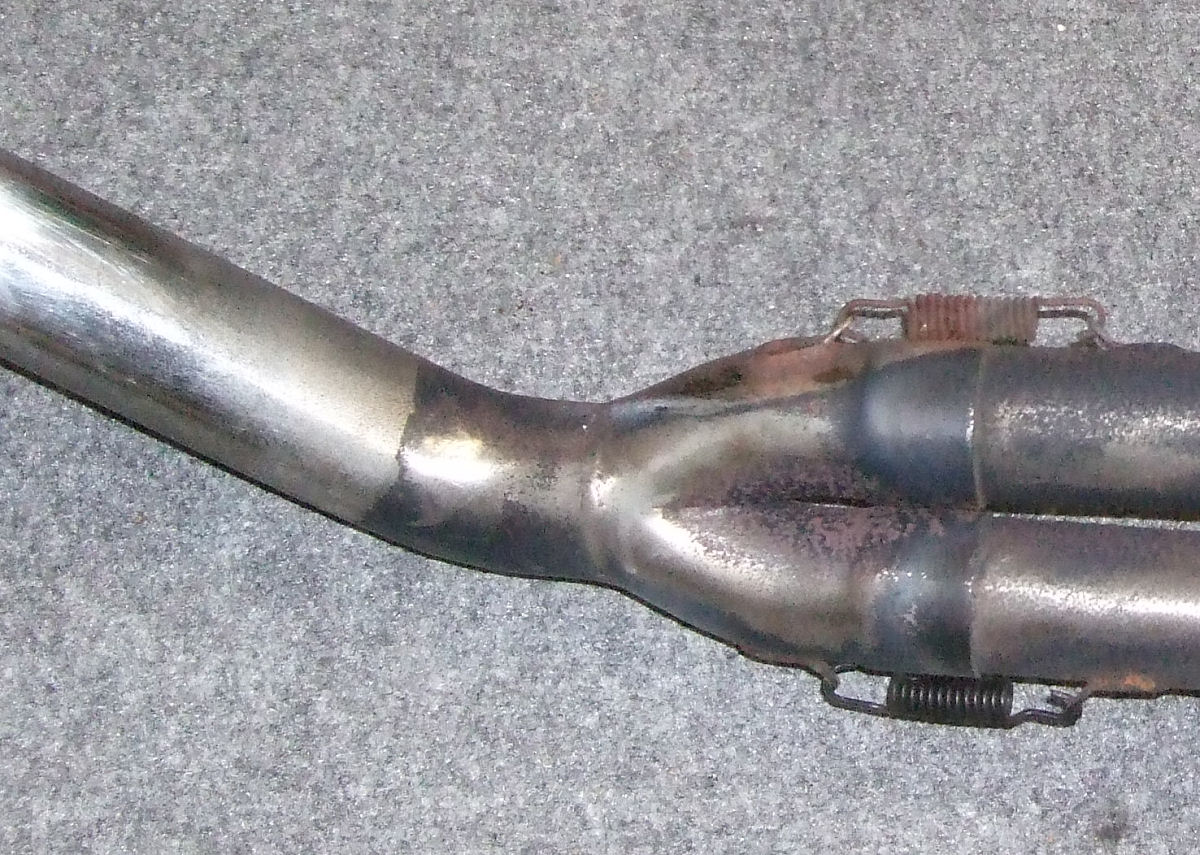
was showing its age, with rust on the head pipes and loose rivets on the end
can. The cheapest solution would be to sand/blast it and paint it with header
paint, or barbecue paint. But that's made a bit more difficult because the
mid-pipe is both colored and chromed.
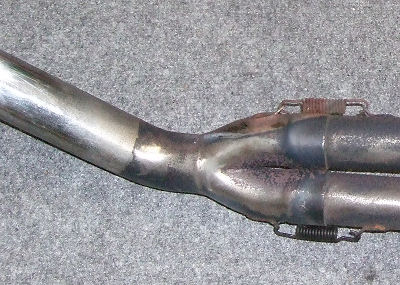
So you could mask off and paint to the chrome, but...
still ugly.
Another option would be to get it ceramic coated, which is
certainly cheaper than a new exhaust system but still a couple hundred dollars
and two weeks of downtime. You could also wait and hope a good used system shows
up on Ebay or one of the forums.
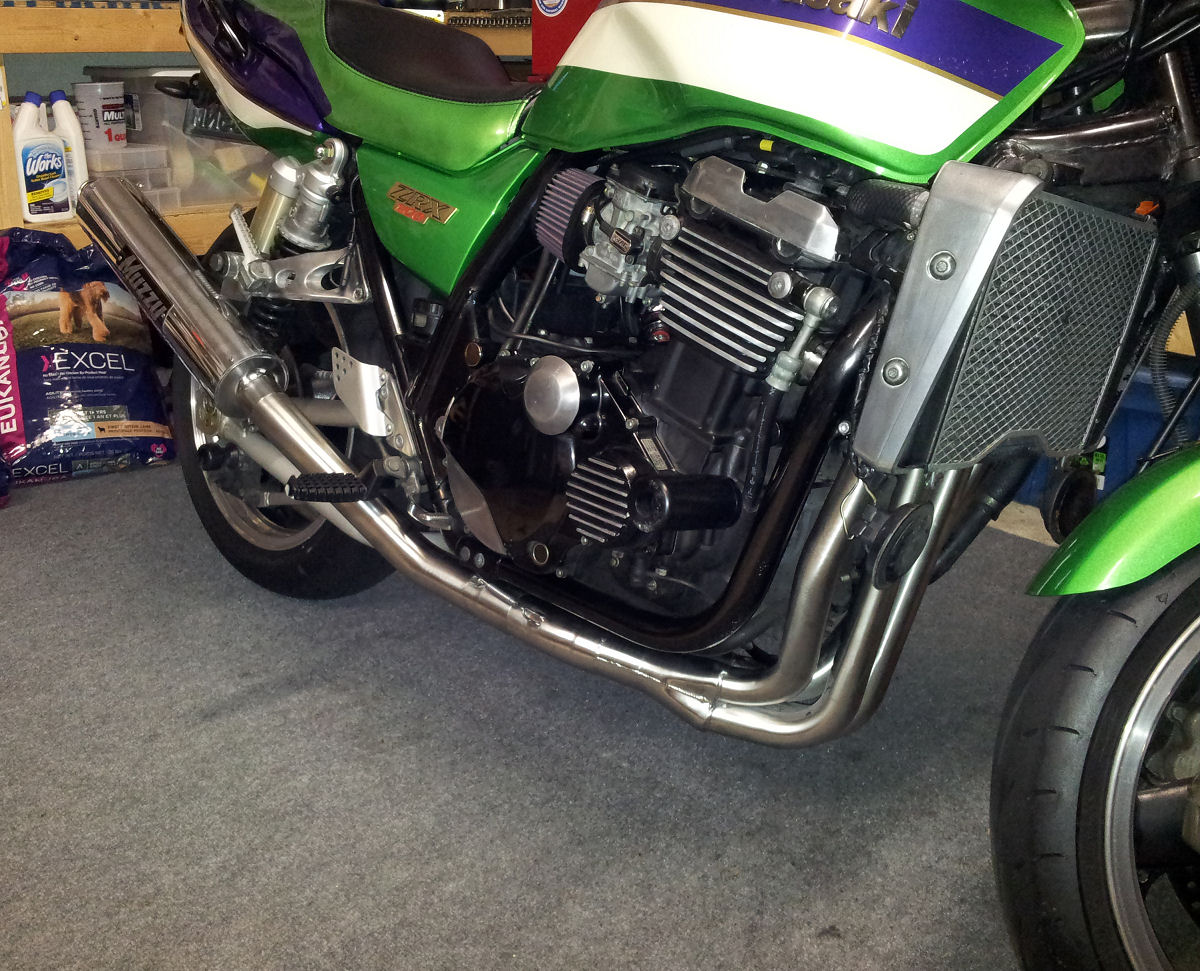
Or, you could do as I did and wait until Black Friday and
get a great deal on a brand new, full stainess-steel Muzzy exhaust, which is was
not bought because it looks better (if that was the issue, I could have gotten
the carbon fiber muffler) but because the Muzzy is a quality system from a
proven performance leader. Or something like that. It's on their web site.
Changing an exhaust system is one of the simplest things
you can do. On the ZRX, it involves only 14 bolts.
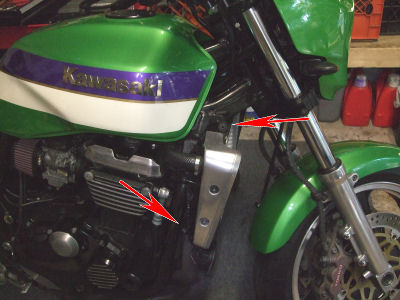
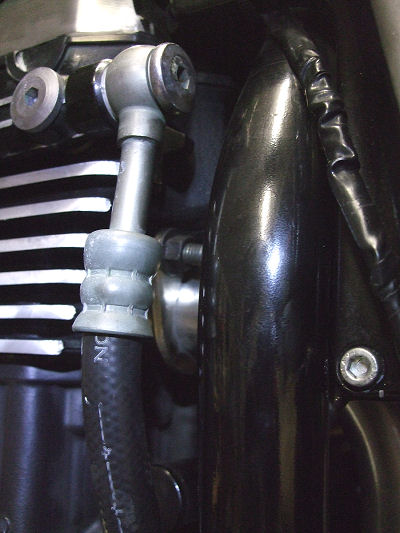
The first four attach the radiator, which must be moved -
but not removed - to get to the header bolts. The top one is a 10mm bolt; the
bottom, on mine at least, is an allen-head bolt - 5mm on one side, 4.5 on the
other. On used bikes, you are an archaeologist uncovering the mistakes of the
past. Note that the radiator cover does not need to be removed from the radiator
itself, but it does attach to the frame there at the bottom.
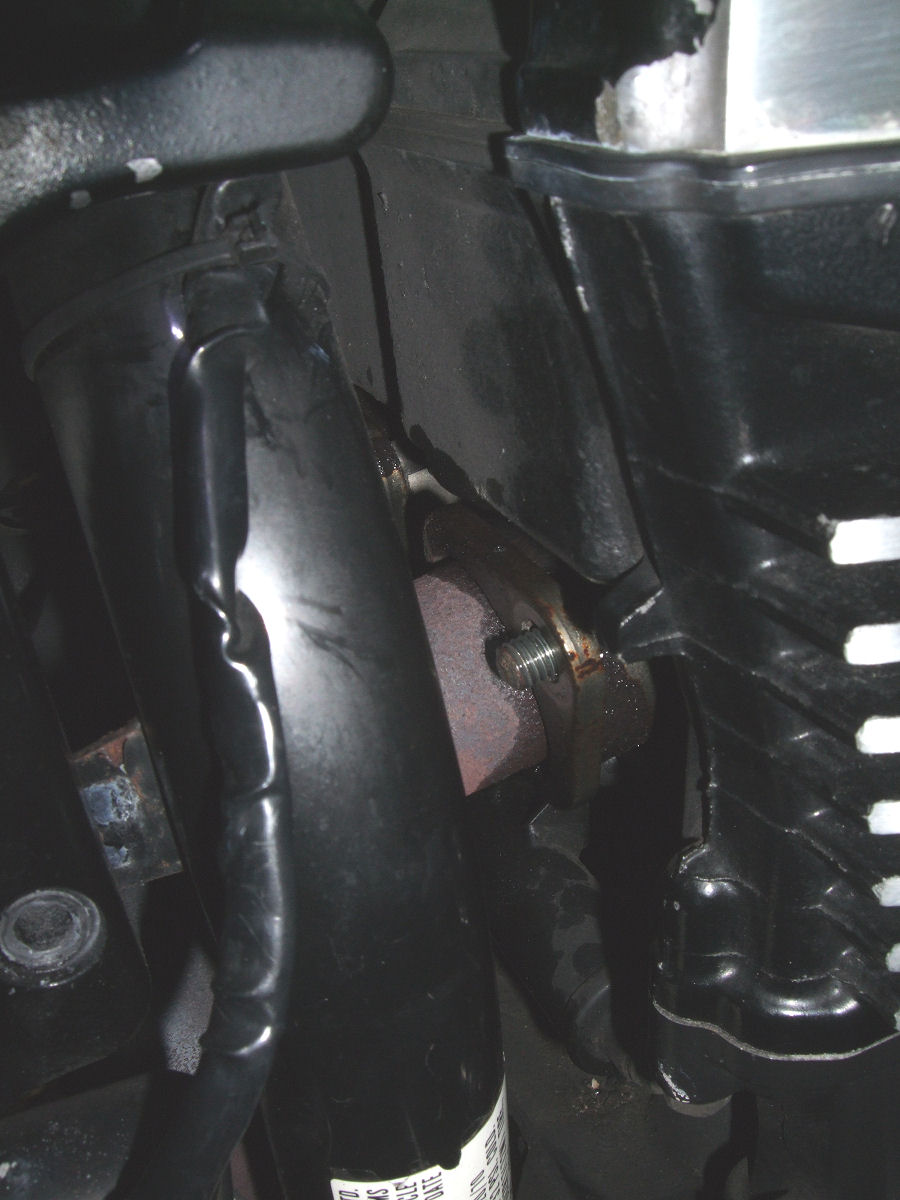
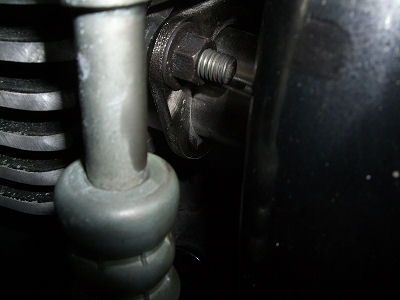
With the radiator scooted out of the way, spray a little
penetrating oil on the bolts as they tend to get rusty with all of the heat and
grime. Let it sit and they should come off fairly easily. Here's one gone.
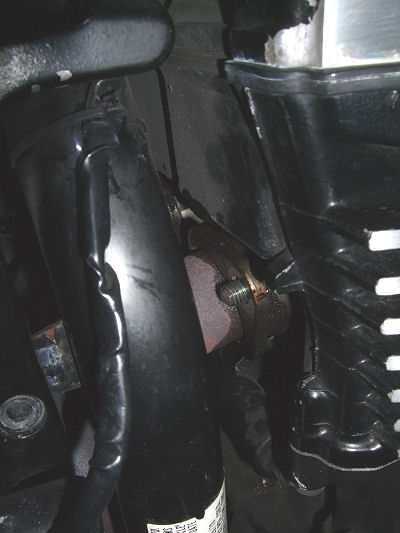
Yes, the space is very tight, but there's just enough room
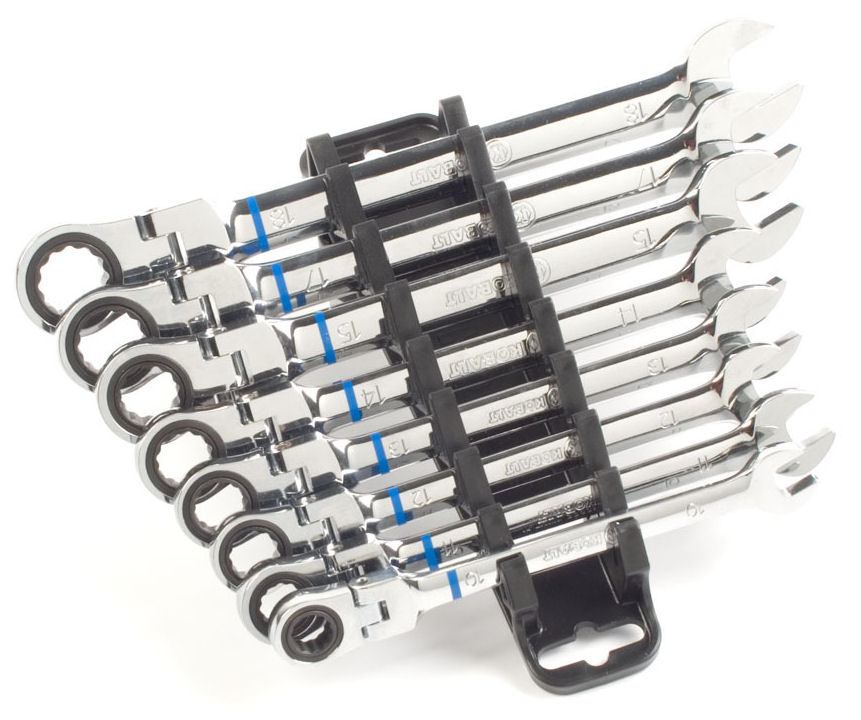
to turn a wrench. It helps if you have a set of these.
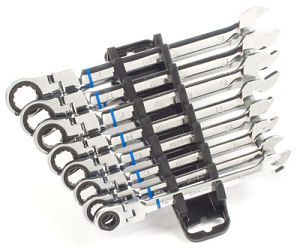
That's a set of ratcheting flex head combination wrenches
and it'll run you $70-$90. Gear wrench makes 'em. Mine are Kobalt. I'm sure you
can get a set from Snap-On or Mac as well. I was fortunate enough to get a set
for Christmas one year and it was the Best Christmas Present EVER! No, really.
They get used more than any tool in the kit. On the exhaust bolts of the ZRX,
there's not enough room to get a regular ratchet socket in there unless you want
to take the radiator off. The flex head lets you get the wrench on the bolt and
move it so there's enough room to swing it, and you don't have to remove the
wrench to reposition for each turn.
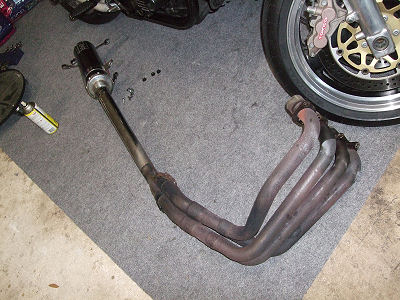
Undo the eight bolts header bolts holding the retaining
brackets on and the large bolt holding the end can onto the passenger peg hanger
and the whole system will come out.
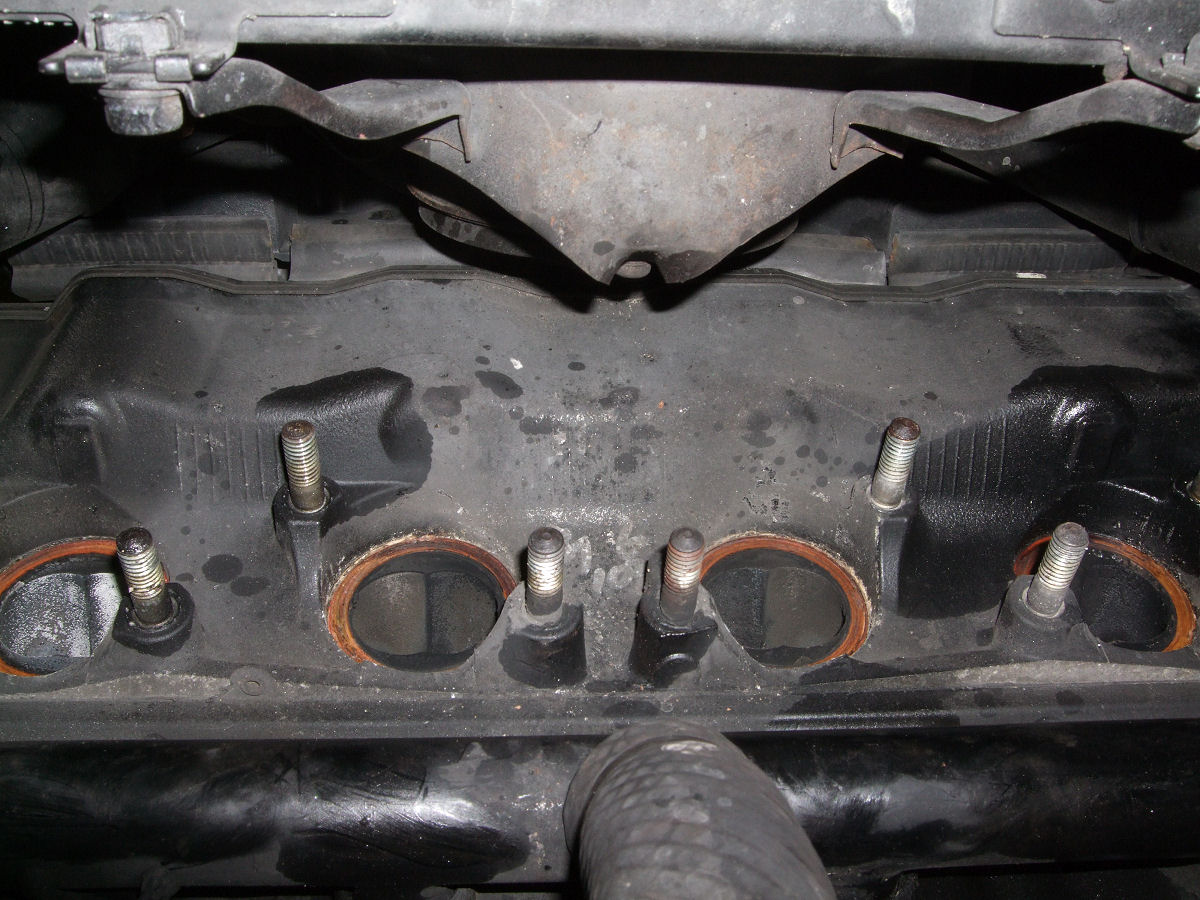
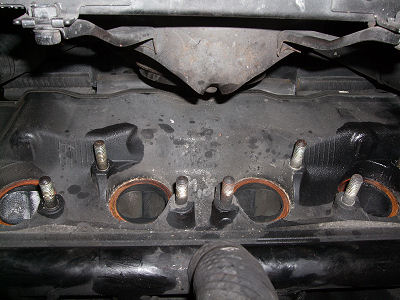
Leaving gaping holes at the exhaust ports. Here we are
looking straight up. That's the radiator and fan at the top.
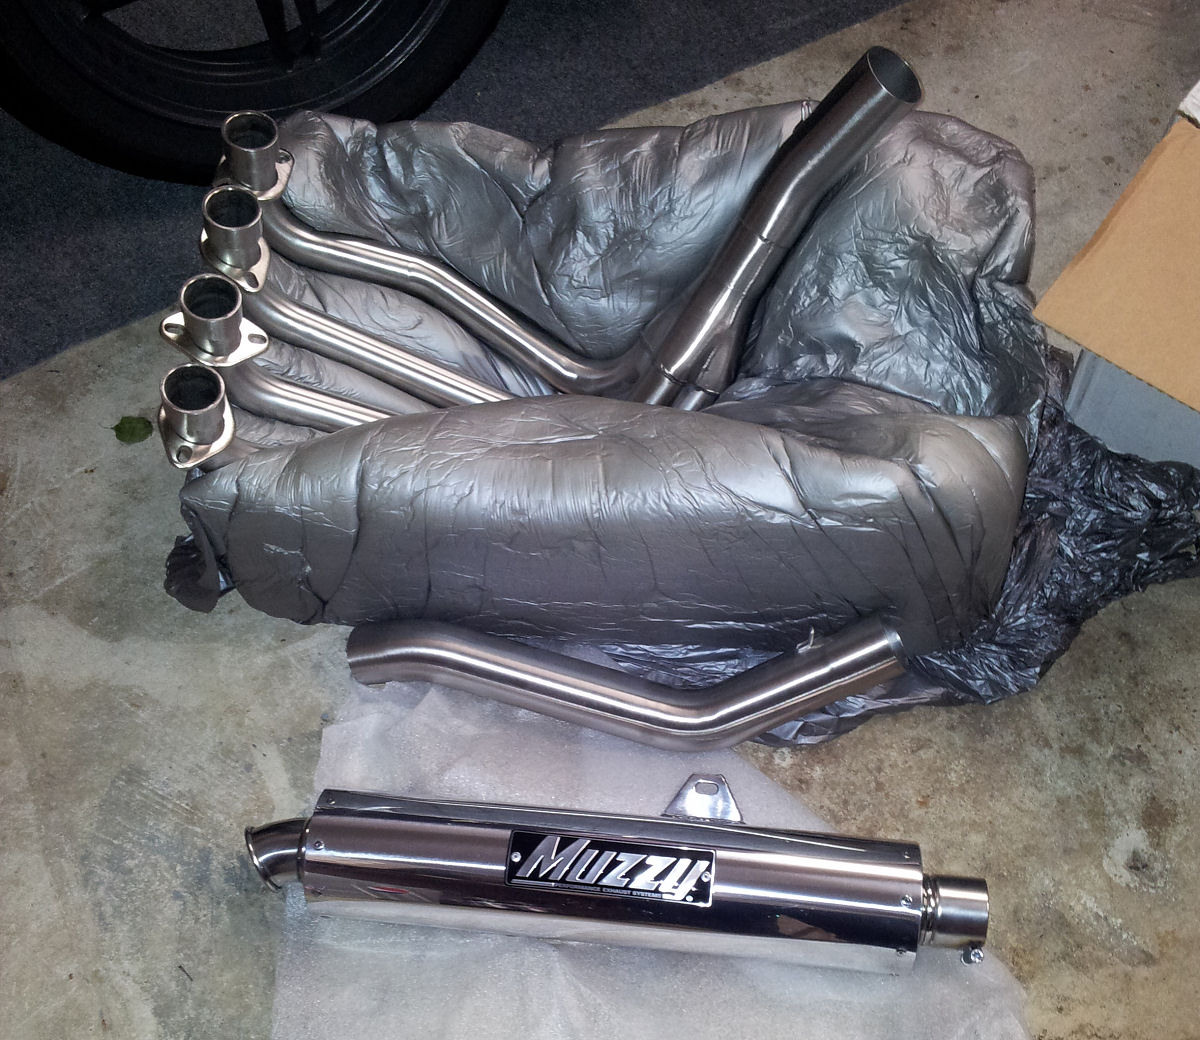
The new system comes in three gloriously shiny pieces.
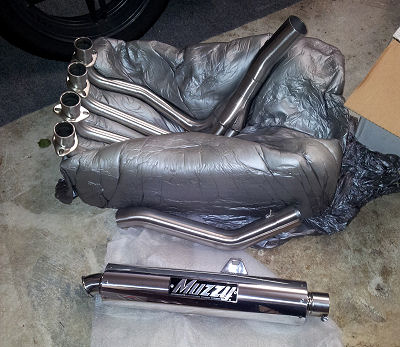
Start by attaching the header pipes - they're one piece on the Muzzy, unlike
the two-piece D&D setup. I used some 4 X 4 scrap wood underneath to help prop it
up while I fit the pipe into the motor. Or you could sit funny and use your
foot. The important thing is to get it loosely in place while you put the nuts
back on the studs. See in there? Yeah, it's tight.
And you will eventually drop one. If you're lucky, its final resting place
will be obvious. If you're not, and it disappears into the same alternate
time/space dimensional portal that also claims socks from the dryer, you will
spend the majority of your installation time searching for one lost nut only to
find it four feet away from the bike, in a place where you already looked five
times. Ask me how I know.
Put all 8 nuts on loosely for now, as you're going to need some wiggle room.
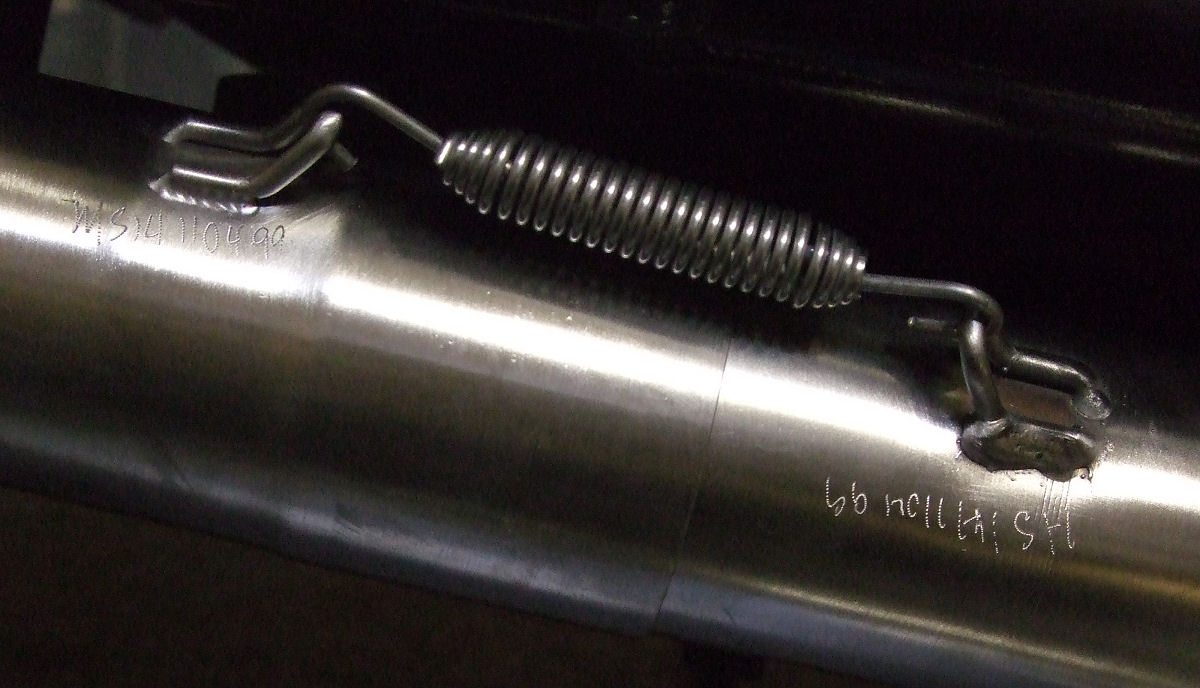
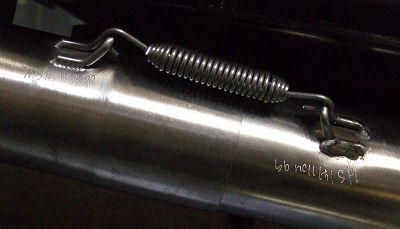
Next comes the mid-pipe, which slips on and is held by a spring.
Use a set of pliers or vise grips to pull the spring and attach it. Note the
engraving on the pipes. Dunno what it means.
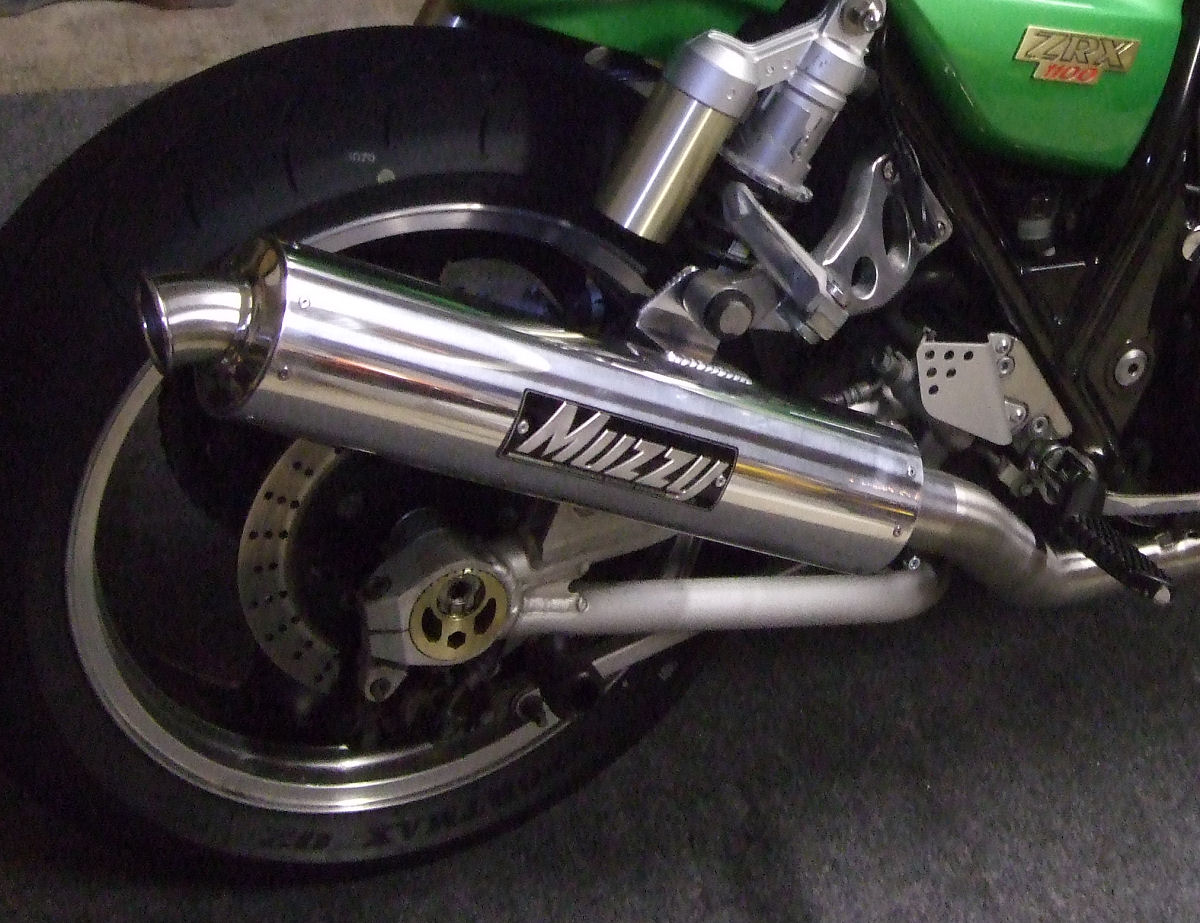
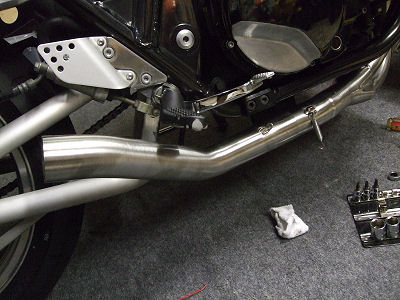
Then slip the end can on and attach it to the footpeg bracket with the
original bolt. Some systems use a strap. The Muzzy system has a bracket welded
onto the can. Very posh. DO NOT TIGHTEN IT YET.

Now go back to the header pipes and slowly, progressively tighten the nuts
across the set, a little each time, until they are all snug. The manual says
tighten to 34 Nm. Good luck getting a torque wrench in there. They need to be
tight enough so that the exhaust seals, but not so tight that they bend the
retaining plates. Easy does it. If you are thinking "I'll just give it an
extra little push" you should probably stop before you do.
Once everything's tight at the head, you can tighten the bolt at the muffler
mount, and the bolt that squeezes the muffler around the mid-pipe - tight, but
not crushingly so. Bolt the radiator back in its rightful place and you're done
- a much better looking better performing system. Have a beer.

Now it's starting to come together.

Return to Part 1
Return home
|