|
If at First You Don't Succeed
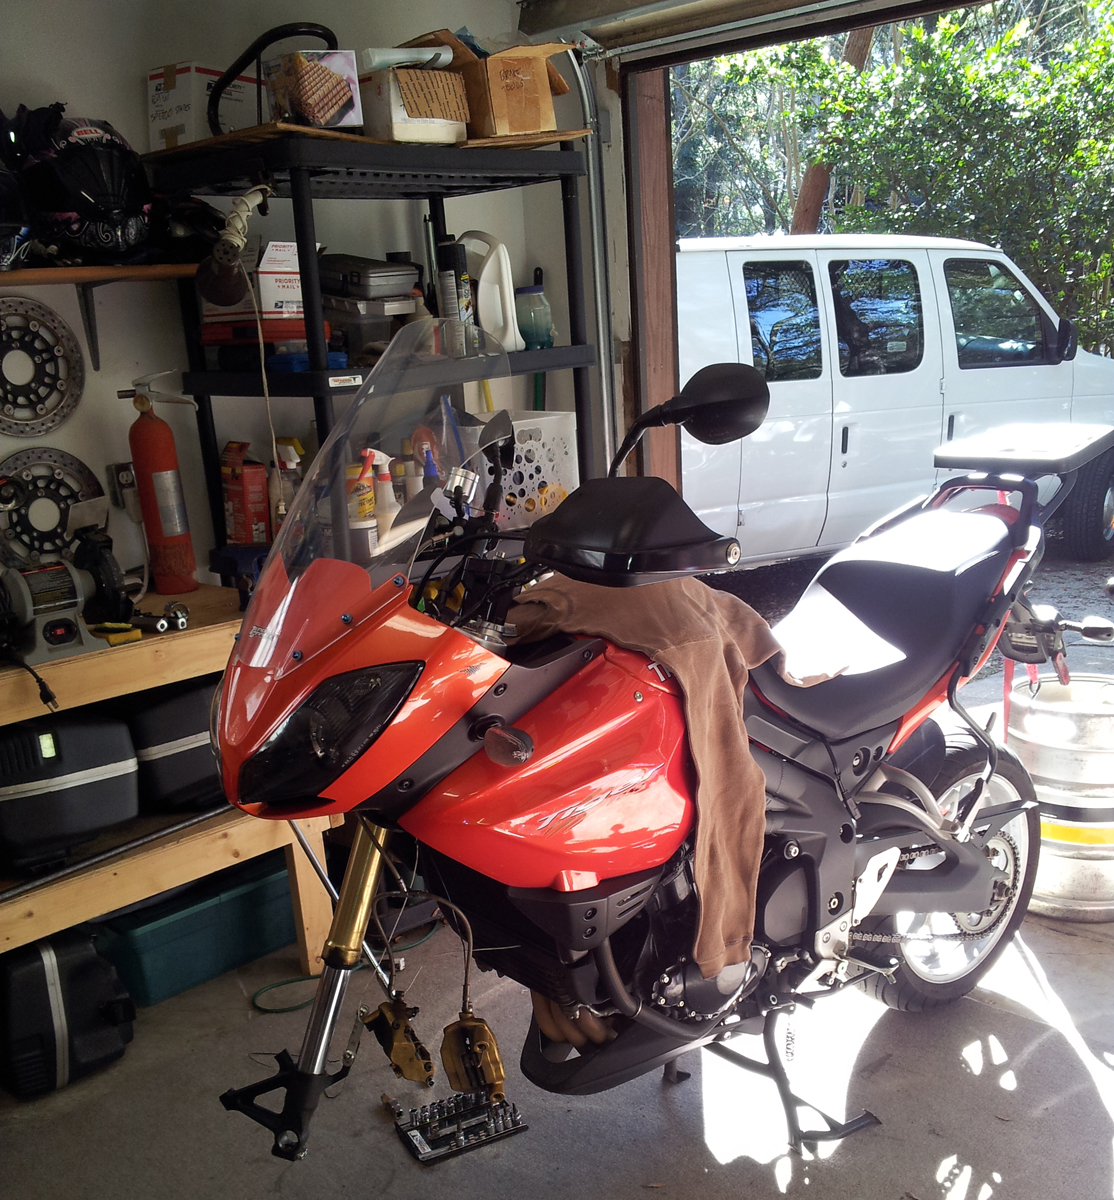
The truth of that adage was profoundly reinforced by a recent project involving a friend's Triumph Tiger 1050. One of the forks had developed a significant leak, and since the Tiger is fitted with trendy upside-down forks, oil had drooled down onto the brake pads and disks on that side, causing what manufacturers would term an "unsafe operating condition." The forks would need new seals, and new brake pads were in order as well. Brake pads are a simple job and I had done fork seals on several sets of conventional forks. I convinced my friend - we'll call him "George" - that letting me have a go would be mutually beneficial. I would get to work on my first set of upside-down forks and he'd save a buttload of money. Little did I know, it would become a months-long ordeal testing the limits of patience and friendship brought on by the simplest of errors and ending, finally, with the simplest of solutions. Before getting into that, though, a little Motorcycle Fork 101. The telescopic fork has been a staple of motorcycling since Leonardo DaVinci stole it from the cavemen, who were given the design by the same space aliens who helped invent the pyramids and erect the statues on Easter Island. Forks are essentially overgrown shock absorbers with an axle between them and their basic elements are the same: a smaller tube slides inside of a larger tube, supported by bushings, riding on a spring and containing a mechanism that uses a plunger contraption that forces oil through cleverly designed passages in order to create "damping," which is the terse, highly technical term for "preventing the spring from going BOING a whole bunch." Fork oil's primary function is not to lubricate, but to flow in and out of the damping mechanism. Heavier oil creates more damping. Lighter oil creates less. You can ride without fork oil without harming anything except maybe yourself, as the front end would act like two pogo sticks in a bouncy castle.
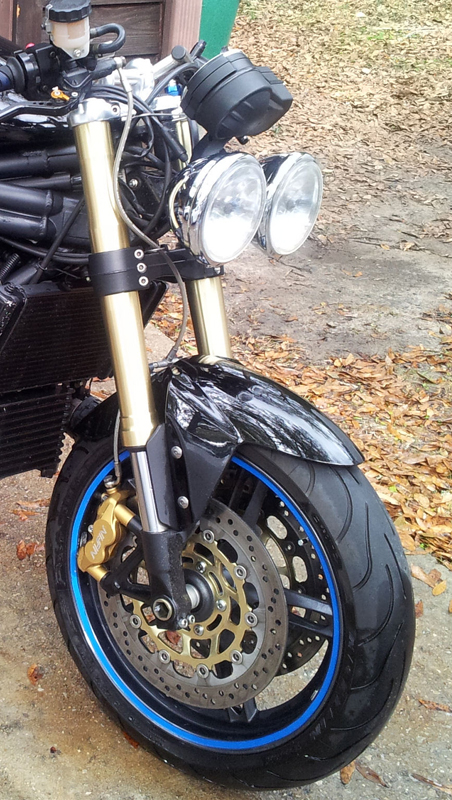
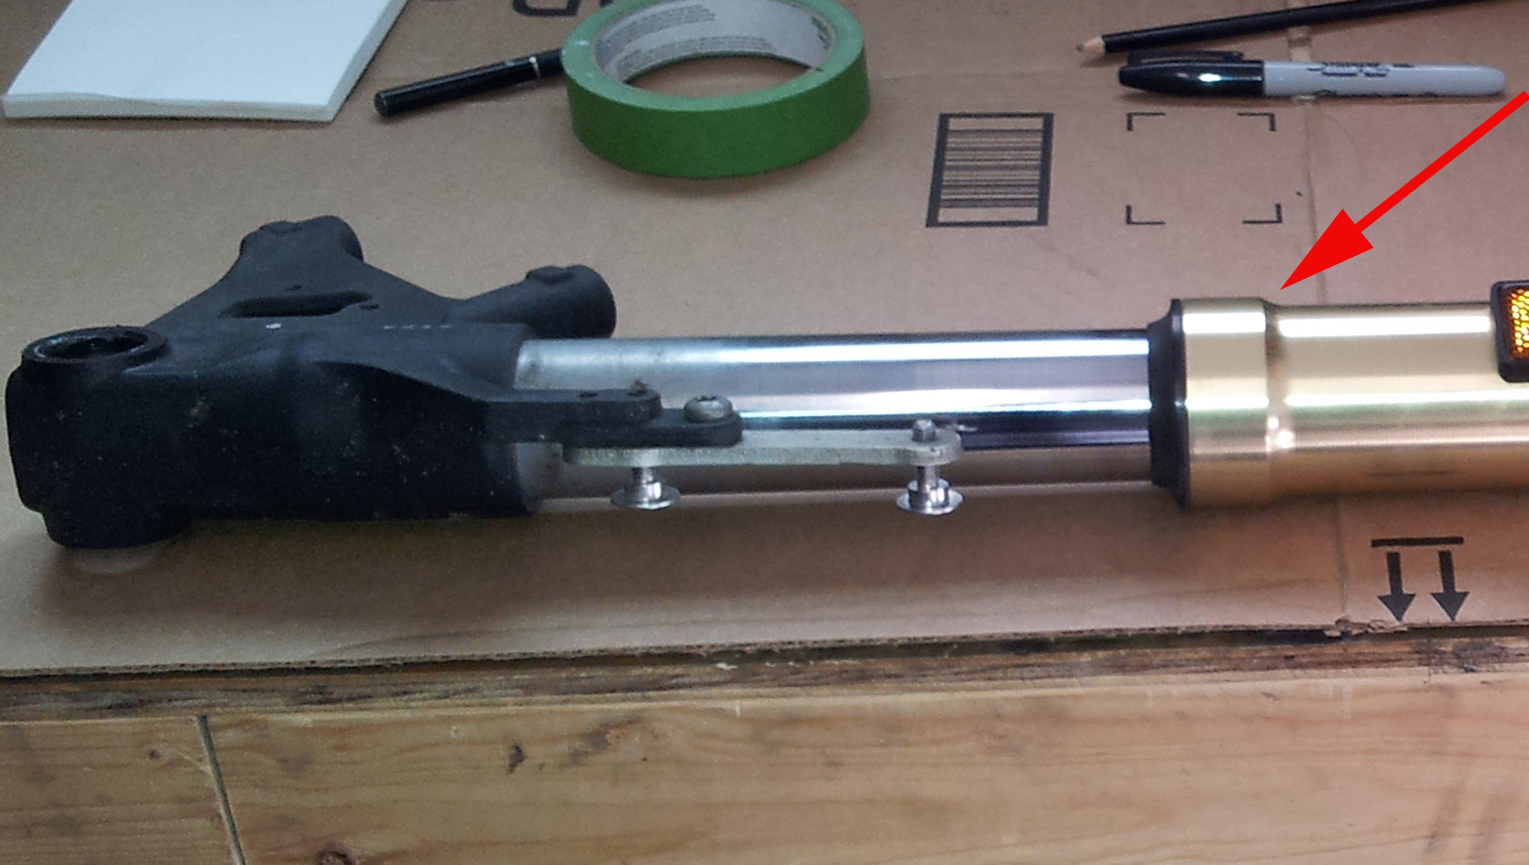
Most motorcycle forks secure the thinner tubes to the frame via the triple clamps, while the thicker tubes - the "fork lowers" - hold the axle. So-called "upside down" forks mount the larger tube in the triple clamps with the axle and brakes carried on the smaller tube by a pressed-on mounting. Upside-down forks were first used in motocross, where having a thicker main tube and shorter inner tube helped reduce damage from the constant pounding. The extra stiffness also has handling benefits for road bikes, particularly racers. Besides, they look bitchin' and pretty soon all the cool kids had to have them. The innards of both are very similar in concept - there's a spring, a damper rod mechanism, a spacer, some washers, bushings and seals. The main difference is how the internal damping mechanism is connected to either end. I had always heard that upside-down forks were more difficult to work on, which is why shops usually charge more to service them. It turns out, they're not really more difficult and most of the steps are the same:
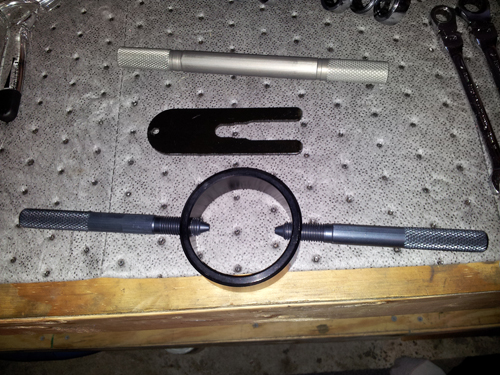
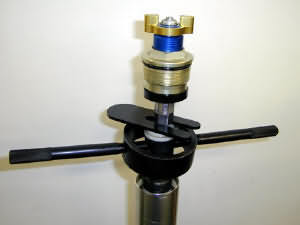
The main difference is that upside-down forks require a special tool to compress the spring and hold it with a clip while you remove the top cap/adjusting mechanism. I got mine from Traxxion Dynamics who, in addition to making cool stuff, have actual humans who answer the phone and help you if you need it. Here's the compressor, the clip and a damping rod holder.
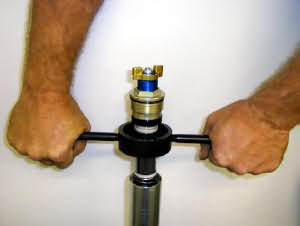
The two rods screw into holes in the fork's internal spacer tube. You push down and use the clip to hold the spring in a compressed position while you loosen the top adjusting mechanism. Here are the illustrations from the Traxxion Dynamics site.
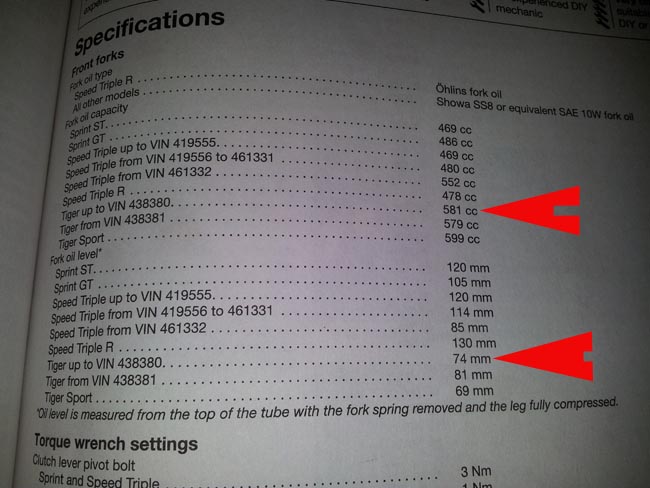
The operation is simpler with three hands, as you have to hold the spring down while slipping the clip under the locknut on the damping rod. It is possible to do it alone, and there's a rather amusing video of a fellow on YouTube accomplishing the task solo with a home-made tool, but it's much easier with the proper tool and a helpful assistant Once that's done, the rest of the operation is the same as it would be on a conventional fork, although when replacing seals and bushings, you have to slide them on the smaller tube, in the proper order, before putting the tubes together. I won't go step-by-step, because the interwebs are already full of decent how-to information, pictures and video. Between that and the step-by-step instructions in the shop manual, you should get a decent idea of what to do. However, I ran into a couple of pitfalls not covered in the manual or on the web that I will, with some shame and reluctance, share. The first involves the amount of fork oil each requires. There are two specifications - the actual amount, and the distance from the top of the tube that you fill the oil to. Usually, the distance is the most important one to use, because that determines the amount of air which, in a sealed fork, also acts as a spring. According to the manual, the Tiger needed 581ccs to be filled to within 74mm of the top of the tube.
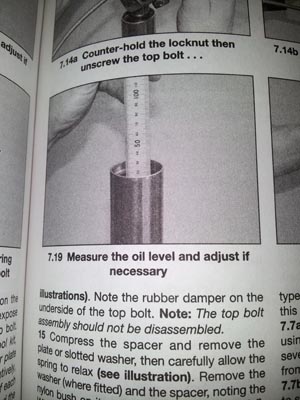
The manual includes a handy illustration of measurement.
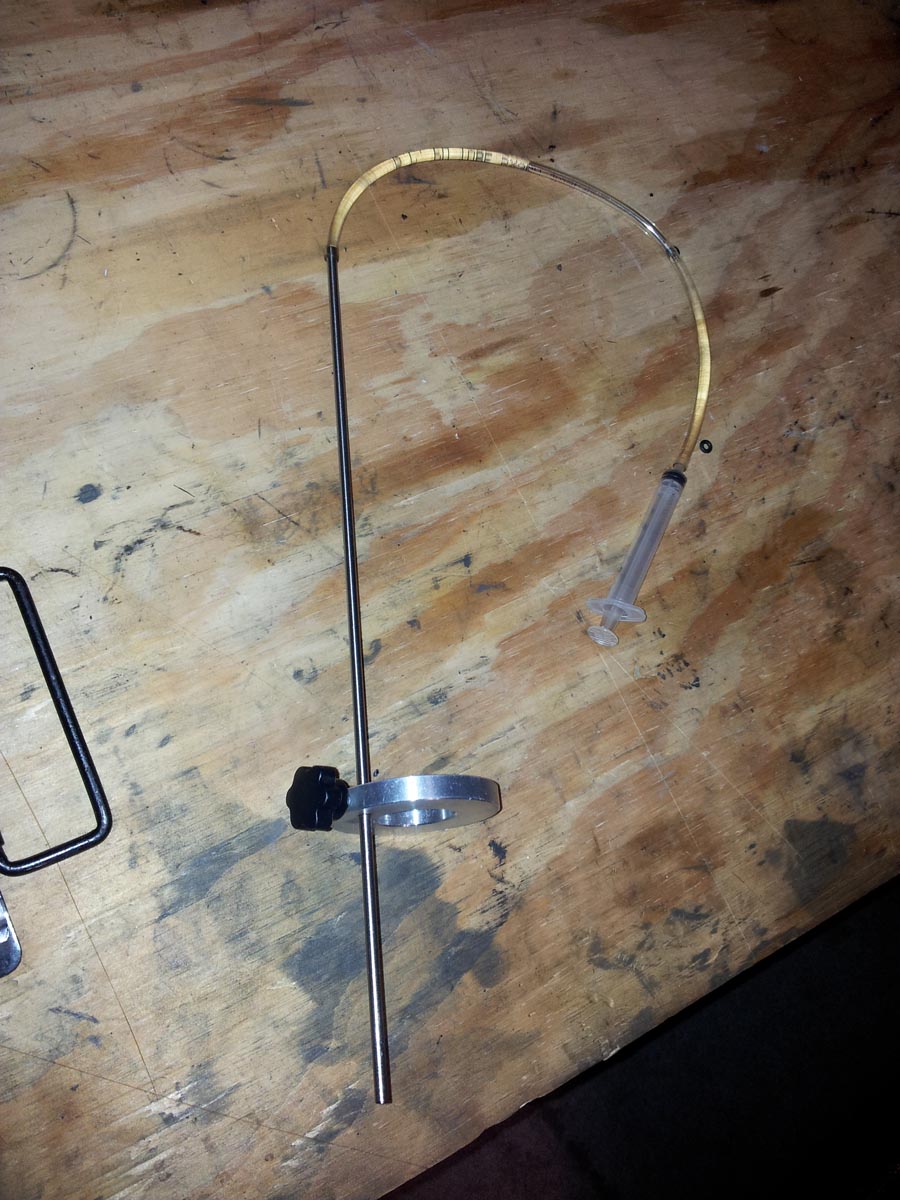
And there's a nifty tool for getting the amount precise, consisting of an adjustable metal tube with measurements marked, fixed in a plate that goes on top of the fork tube. You set it to the distance you want from the top, pull oil out with the syringe until you're sucking air, and the oil is then at the correct level.
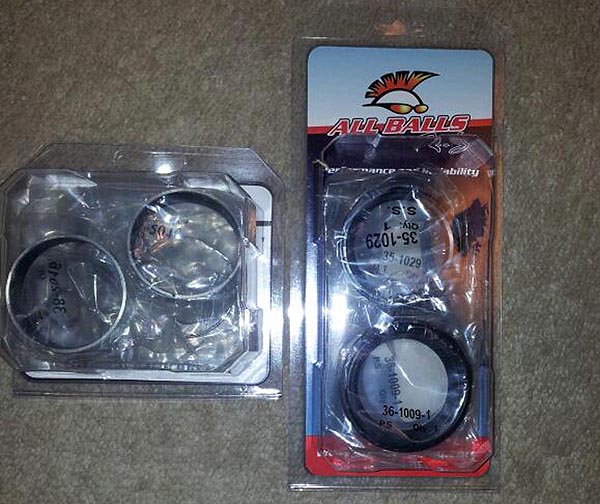
However, to get the oil to the proper level I ended up using almost 70ccs more oil than the manual called for. Seemed odd at the time but the "distance" measurement is supposed to be more accurate so I went with it. Everything went back together, but by the time "George" got home, both forks were leaking, instead of just the one. This led to lots of apologies and head scratching and interweb searching. There are quite a few forum posts regarding faulty OEM seals, so that was a possibility, but I also suspected over-filling, since the amount of oil required to reach the correct height was pretty significant. I ordered more seals just in case, and fresh oil, and when the parts came in we did the job again. The discrepancy between "distance" and "amount of oil" was caused, I believe, by a lack of clarity in the manual. It specifies distance from the top of "the tube" and has a handy illustration. But once assembled, the top of the INNER tube is lower than the top of the outer tube. I believe the correct height should be measured from the top of the inner tube, and when doing the job again, I used the specified amount, added the distance from outer to inner before measuring and sure enough, everything was correct. The forks went back together, "George" rode home and... They were still leaking. Not as bad, but definitely leaking. Could we have gotten two sets of bad seals? Could I have nicked the seals, or scratched the fork? Or, as was more likely, was there some other Operator Error at work? This time, I ordered a set of aftermarket seals from All Balls Racing. In fact, I got everything - including bushings, dust seals, o-rings and more. Usually, it's best to use OEM seals, but I've used All Balls before without a problem, and given what had already happened, it was worth a try.
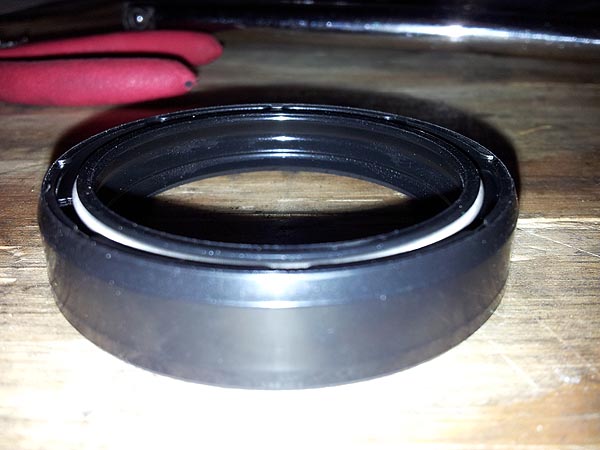
As soon as I opened the package and read the instructions that came with the seals, I had a pretty good idea where I had gone wrong. The seals have ridges called "wipers" on the inside. On the All Balls seals, one side has double wipers and one has a single wiper. According to the All Balls instructions, the side with the double wipers goes toward the oil. That side is flat. The other has a bevel. Checking the OEM seals, I saw that one side was flat, while the other had a bevel.
I was certain I had put the seals in with the bevel side facing the oil, as there is a bevel on the inside of the fork tube and I thought they were supposed to match.
However, I hadn't taken pictures of the old seals while disassembling the forks. And I had only given the manual a cursory glance to make sure I had done all of the steps. After all, I'd done plenty of seals before, right? Sure enough, it says to install the seal "with the printed side facing the dust seal." And of course there are little tiny letters on the beveled side of the OEM seal, meaning the non-beveled side should go toward the oil and I'd gotten it wrong. Twice. On the third try the seals - installed right-way-'round - held. No leaks. Between bouts of Waiting on Parts and trying to schedule a time when "George" was free, the project took many weeks, all because of a simple, stupid mistake. But the manifesto is vindicated and I learned several things. I learned to pay attention to every detail and never take anything for granted. I learned to measure oil level based on the inside tube. I learned about the construction of oil seals and that they are meant to fit one way only. I got really good at disassembling and rebuilding upside-down forks. The first time it took over four hours. By the third, I got the job done in nearly two. And finally, I learned that "George" is a very patient man indeed. |
|||||||||||||||||||||||||||||||||